The Ultimate Guide to Preserving Seasonal Fruits and Vegetables
Essential Preparation and Safety for How to Preserve Vegetables at Home
Before we dive into the specific methods of how to preserve vegetables at home, we have to talk about the foundation: preparation and safety. You can’t turn a bruised, overripe vegetable into a high-quality preserved snack. The process begins the moment you step into the garden or return from the farmers’ market.
Harvest Timing and Quality
The freshness of your produce is the single most important factor in the quality of your finished product. For the best results, harvest vegetables at their peak maturity. If you wait too long, corn becomes starchy, and green beans get stringy. For storage, aim to harvest in the cool of the morning when the moisture content is highest.
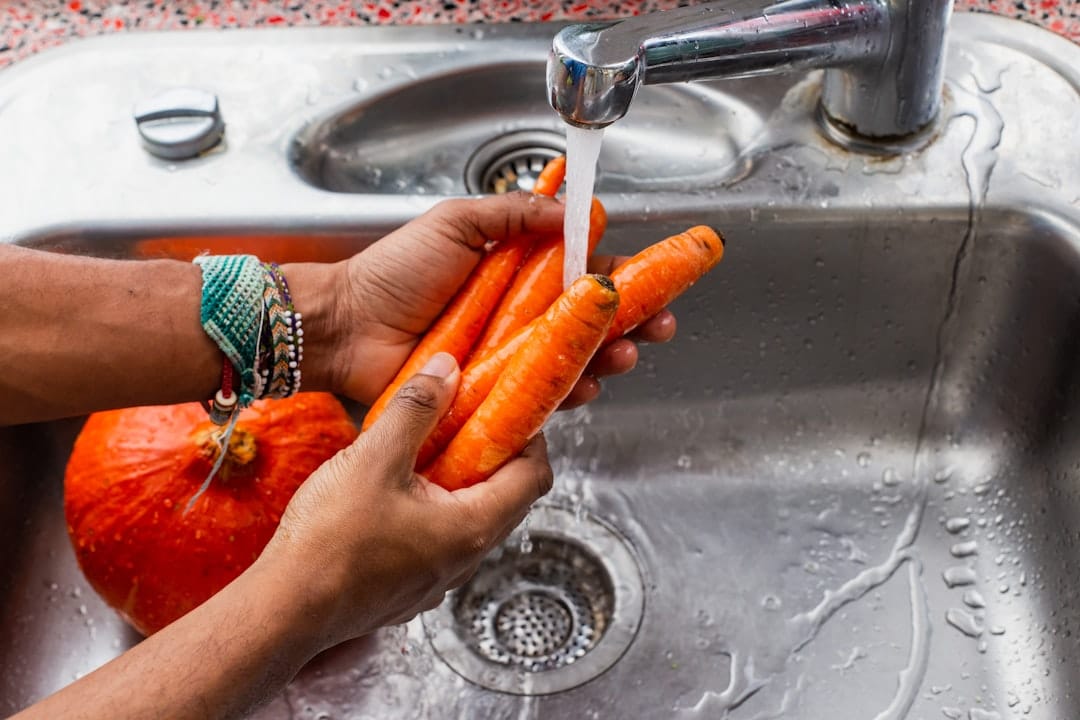
Once harvested, handle your vegetables gently. Any nick, bruise, or broken skin is an invitation for bacteria and mold. We recommend washing your produce thoroughly under cold running water to remove soil and potential pathogens. For root crops like potatoes or carrots, a gentle scrub with a vegetable brush is essential, but be careful not to break the skin if you plan on curing them for long-term storage.

The Science of Safety: Preventing Botulism
Safety isn’t just a suggestion; it’s a requirement. When we talk about how to preserve vegetables at home, the biggest concern is Clostridium botulinum. This bacterium produces spores that thrive in the oxygen-free environment of a sealed canning jar. These spores can produce a deadly toxin that causes botulism.
To stay safe, you must understand the “240°F Rule.” While boiling water (212°F) kills many microorganisms, botulism spores can only be destroyed at temperatures of 240°F or higher. This temperature can only be reached using a pressure canner. Low-acid vegetables—like green beans, corn, and potatoes—must be pressure canned. High-acid foods or those with added vinegar (like pickles) can often be processed in a water bath, as the acidity prevents the spores from growing.
For more detailed safety protocols, you can explore Food Preservation: Basics for Canning Vegetables | Ohioline or browse our Category: Preserving Basics for foundational tips.
The Role of Blanching in How to Preserve Vegetables at Home
If you’ve ever pulled a bag of frozen broccoli out of the freezer only to find it gray and mushy, you probably skipped blanching. Blanching is the process of briefly scalding vegetables in boiling water or steam, followed by an immediate ice bath.
Why do we do this? Vegetables contain active enzymes that continue to work even after harvest. These enzymes cause loss of flavor, color, and texture. Blanching stops this enzyme activity in its tracks. It also cleanses the surface of the vegetable, wilts it slightly for easier packing, and helps retain those vital vitamins.
| Vegetable | Blanching Time (Minutes) |
|---|---|
| Asparagus (Small/Large) | 2 to 4 |
| Snap Beans | 3 |
| Broccoli (Florets) | 3 |
| Carrots (Sliced) | 2 |
| Corn (On the cob) | 7 to 11 |
Understanding Acidity and Safety
Acidity is your best friend in food preservation. The pH level of a food determines which canning method is safe. Most vegetables are “low-acid” (pH above 4.6), which is why they require the high heat of a pressure canner.
Tomatoes are a unique “borderline” food. Depending on the variety and ripeness, they can hover right on the edge of the safe pH zone. To be safe, we always recommend “acidifying” tomatoes by adding bottled lemon juice (1 tablespoon per pint) or citric acid (1/4 teaspoon per pint). This ensures the environment is too acidic for dangerous bacteria to survive. For more on the chemistry of pickling, check out the Pickling – National Center for Home Food Preservation resources.
Modern and Traditional Canning Techniques
Canning is perhaps the most iconic way to build a “home store.” It allows you to keep vegetables on a room-temperature shelf for a year or more without needing electricity.

Pressure Canning for Low-Acid Vegetables
As we mentioned, pressure canning is non-negotiable for low-acid vegetables. This includes favorites like potatoes, sweet corn, and green beans. Modern pressure canners are very safe and easy to use, but they do require attention to detail.
- Venting: You must let steam flow freely from the vent for 10 minutes before closing the petcock or putting on the weight. This ensures there is no trapped air, which would prevent the canner from reaching the necessary 240°F.
- Altitude Adjustments: Did you know water boils at a lower temperature at higher altitudes? If you live more than 1,000 feet above sea level, you must increase the pressure (PSI) to compensate.
- Natural Depressurization: Never force-cool a canner by running it under cold water. This can cause the liquid to boil out of the jars and ruin the seal. Let it come down to zero pressure naturally.
If you are new to this, our Safety First: A Guide to Preserving Fermented Foods covers similar safety principles regarding bacterial control.
Water Bath Canning and Pickling
Water bath canning is simpler and involves submerging jars in boiling water. This is perfect for high-acid foods like fruit spreads and quick-process pickles.
Pickling is a fantastic way to preserve the crunch of your harvest. Whether you are making traditional dills or experimenting with Refrigerator Pickled Vegetables | OSU Extension Service, the key is the brine. A standard vinegar-based brine creates an environment where spoilage organisms can’t survive. For a quick start, try our Quick and Easy Pickled Vegetables for Every Meal for inspiration.
Freezing, Drying, and Fermentation Methods
If canning feels a bit too “scientific” for your first try, freezing and drying are excellent entry points for how to preserve vegetables at home.
Freezing for Quality
Freezing is the best method for retaining the “fresh” taste and nutritional profile of vegetables. To prevent freezer burn, use heavy-duty freezer bags and remove as much air as possible. Most blanched vegetables will stay at peak quality for 8 to 12 months at 0°F. If your freezer stops working, keep the door closed! A full freezer can stay cold for up to 48 hours.
The Art of Lacto-Fermentation
At Recipes Guard, we have a specialized focus on fermentation. Unlike pickling, which uses vinegar, lacto-fermentation uses only salt and water. This process encourages Lactobacillus bacteria to convert sugars into lactic acid.
Not only does this preserve the food, but it also creates probiotics that are great for gut health. Sauerkraut and traditional dill pickles are the most common examples. The secret is the salt ratio; salt inhibits “bad” bacteria while allowing the “good” ones to thrive. For those looking to keep their preserved snacks in top shape, see our guide on How to Save Your Salty Snacks.
Dehydrating for Long-Term Storage
Drying is one of the oldest preservation methods. By removing moisture, you prevent the growth of mold and bacteria.
- Electric Dehydrators: These are the most reliable because they provide consistent heat and air circulation.
- Oven Drying: Possible, but keep the temperature low (around 140°F) and the door slightly ajar to let moisture escape.
- Conditioning: After drying, keep vegetables in a loosely sealed jar for a few days, shaking daily. If moisture appears on the glass, they need more drying time. This prevents “case hardening,” where the outside is dry but the inside is still moist and prone to mold.

Root Cellaring and Cold Storage Without Specialized Equipment
Not everyone has a high-tech dehydrator or a pressure canner, and that’s okay! Many of the most effective ways to how to preserve vegetables at home require nothing more than a cool corner of your house.
Understanding Storage Zones
Vegetables are still “alive” after they are harvested—they breathe and require oxygen. Different crops need different conditions:
- Cold and Moist (32–40°F, 95% humidity): Best for carrots, beets, and cabbage. You can mimic this in a fridge by using perforated plastic bags.
- Cool and Dry (50–60°F, 60% humidity): Best for onions and garlic.
- Room Temperature and Dry (55–60°F): Best for winter squash and sweet potatoes.
Creating Storage Spaces at Home
You don’t need a literal cave to do root cellaring. Unheated garages, basements, or even a cool closet against an exterior wall can work.
- Curing: Before storing potatoes, onions, or squash, they must be “cured.” This involves letting them sit in a warm, dry spot for 1-2 weeks to toughen the skin and heal any small scratches.
- The Potato-Onion Rule: Never store onions and potatoes together! Onions release ethylene gas that causes potatoes to sprout and spoil much faster.
- Sand Storage: For root crops like carrots or parsnips, try layering them in boxes of damp sand or peat moss. This keeps them hydrated and prevents them from shriveling.
Frequently Asked Questions about Home Preservation
How long can I safely store home-preserved vegetables?
Shelf life depends on the method. Frozen vegetables are best within 8-12 months. Properly canned goods are safe for years, though their nutritional quality and texture are best within the first 12 months. Root crops vary; carrots can last 8 months in ideal cold/moist conditions, while potatoes usually last about 6 months. Always label your containers with the date and use the “First In, First Out” rotation method.
Can I use sugar substitutes like Splenda in canning?
Yes, but with caveats. In canning, sugar often acts as a texturizer and color protector rather than a preservative (except in high-sugar preserves). You can use Splenda in canning syrups for fruit, but it won’t provide the same “thick” mouthfeel as sugar. For jams and jellies, you must use a “no-sugar-needed” pectin if you plan to use a substitute.
What are the most common mistakes to avoid?
The biggest mistake is altering tested recipes. Home food preservation is a science; changing the amount of vinegar in a pickle recipe or the salt in sauerkraut can make the food unsafe. Other common errors include:
- Reusing disposable “flat” lids (the seals are one-time use).
- Skipping the blanching step for frozen foods.
- Leaving too much or too little “headspace” (the air at the top of a canning jar).
- Storing jars with the metal screw bands still on (this can hide a “false seal” if the food spoils).
Conclusion
Mastering how to preserve vegetables at home is about more than just saving money—it’s about reclaiming a connection to your food. Whether you’re fermenting a jar of probiotic-rich sauerkraut or pressure canning a batch of summer corn, you are building a sustainable pantry that will serve you all through the winter of 2026 and beyond.
At Recipes Guard, we believe that preservation is an art form backed by science. By following these safety guidelines and choosing the methods that fit your lifestyle, you can enjoy the taste of a July harvest even in the middle of January.
Ready to stock your shelves? Start your preservation journey today by exploring our deep-dive guides into fermentation and long-term storage!