Why Blackberry Ginger Kombucha is the Best Summer Sip
Why Blackberry Ginger Kombucha Beats Every Other Summer Drink
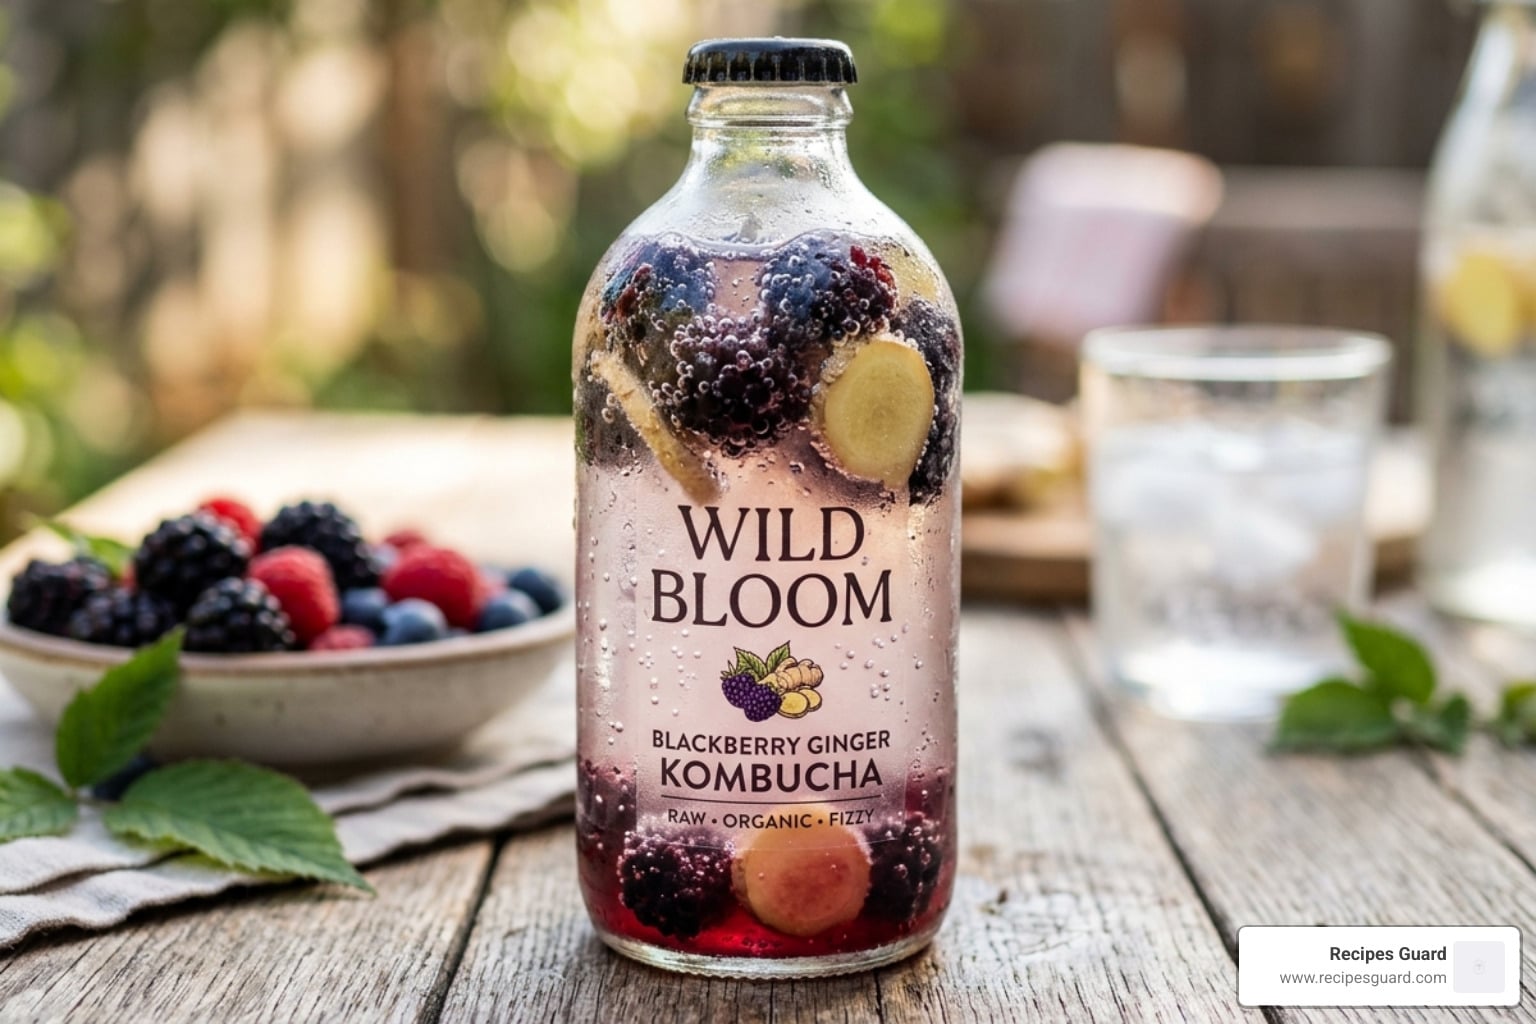
Blackberry ginger kombucha is a fizzy, probiotic-rich fermented tea that layers the sweet-tart punch of ripe blackberries with the warming spice of fresh ginger. It’s one of the most popular flavor combinations in home brewing right now — and for good reason.
If you want a quick answer on how it stacks up against commercial versions, here’s the short version:
| Factor | Homemade | Commercial (e.g., Berry Ginger) |
|---|---|---|
| Ginger intensity | Adjustable to taste | Fixed, often mild |
| Sugar content | Controllable | ~10-15g per serving |
| Juice/fruit content | 100% real fruit | Often ~5% juice |
| Probiotics | High (live cultures) | Varies by brand |
| Cost per bottle | Much lower | $4-6+ per bottle |
| Customization | Unlimited | None |
Whether you’re a seasoned fermenter or just getting started, making this at home gives you full control over flavor, fizz, and ingredients. Commercial versions like Brew Dr.’s Berry Ginger blend use blackberry puree and ginger juice, but they also rely on added essences and fixed formulas you can’t tweak.
The two-stage fermentation process is what makes kombucha unique — and once you understand it, the whole thing clicks.

Mastering the Blackberry Ginger Kombucha Fermentation Process
At Recipes Guard, we believe that understanding the “why” behind the “how” makes you a better home brewer. Making blackberry ginger kombucha isn’t just about throwing fruit into tea; it’s a living, breathing biological process.
Kombucha is produced through two distinct phases. The first fermentation (F1) is where the magic happens on a base level, transforming sweet tea into a tangy, probiotic-rich liquid. The second fermentation (F2) is where we add the “fun”—the blackberries and ginger—and seal the bottles to trap carbon dioxide, creating that signature fizz. If you’ve ever wondered Why Does My Sourdough Smell Like Old Gym Socks/, you know that fermentation is all about managing the balance of yeast and bacteria. The same rules apply here!
For more inspiration on what you can bubble up in your kitchen, check out our Category/Fermented Recipes/ for a deep dive into “the funk.”
Sourcing Your SCOBY and Starter
Before you can enjoy a glass of blackberry ginger kombucha, you need a “Mother.” No, not yours—a SCOBY (Symbiotic Culture of Bacteria and Yeast). This rubbery, pancake-like disc is the engine of your brew.
- Neighborhood Hippies: Honestly, the best way to get a SCOBY is from a friend. SCOBYs “have babies” (layers that peel off) with every batch, and most brewers are desperate to give them away.
- Online Kits: We often recommend sources like Fermentaholics or Kombucha Kamp. They provide healthy, lab-tested cultures that are inexpensive and reliable.
- Starter Tea: This is just plain, unflavored kombucha from a previous batch. It’s crucial because it lowers the pH of your new tea, preventing mold from growing before the SCOBY can take hold.
Step-by-Step First Fermentation
The first fermentation is the “patience phase.” Here is how we get it started:
- The Tea Base: Brew a gallon of tea (black, green, or a mix) and dissolve 1 cup of cane sugar into it.
- Cool Down: This is vital. If you add your SCOBY to hot tea, you will kill it. Let it reach room temperature.
- The Mix: Pour the sweetened tea into a large glass jar, add 2 cups of starter tea, and gently slide in your SCOBY.
- The Wait: Cover the jar with a breathable cloth (like a coffee filter or tight-weave towel) and secure it with a rubber band. Store it in a warm, dark spot (75°F–85°F is the sweet spot).
- Timeline: In April 2026, with typical indoor temperatures, this takes 7 to 21 days. Taste it with a straw after day 7. It should be tart but still have a hint of sweetness.
Once your F1 is complete, you have the raw material for the best blackberry ginger kombucha you’ve ever tasted. Just like Mastering The Art Of Lacto Fermented Hot Sauce/, the base must be perfect before you add the flair.

Essential Ingredients: Fresh vs. Frozen and Ginger Varieties
Now for the flavor! The combination of blackberry and ginger is a classic because the berries provide an earthy, floral sweetness that perfectly offsets the sharp, zesty “bite” of the ginger.
Choosing the Best Ginger for Blackberry Ginger Kombucha
Ginger is the “fizz factor” in kombucha. It contains natural enzymes and sugars that yeast absolutely loves, leading to more bubbles. But how should you prepare it?
- Fresh Grated: This gives the most potent, “zingy” flavor. We recommend using about 1 teaspoon per 16 oz bottle.
- Ginger Juice: If you want a smooth drink without bits of pulp, ginger juice is the way to go.
- Crystallized Ginger: This adds extra sugar and a candy-like spice. It’s great for beginners who want a guaranteed “pop” when they open the bottle.
- Ginger Syrup: As we saw in our mocktail research, a simple syrup made from sugar and ginger slices is a fantastic way to sweeten and flavor simultaneously.
Blackberry Preparation Techniques
Should you use fresh or frozen berries? In our experience, both work beautifully, but they have different strengths.
| Feature | Fresh Blackberries | Frozen Blackberries |
|---|---|---|
| Flavor | Bright, floral, and seasonal | Deep, consistent sweetness |
| Preparation | Need thorough washing and mashing | Easier to mash; freezing ruptures cell walls |
| Availability | Best in peak summer | Available year-round |
| Texture | Firm; better for whole-fruit look | Mushy; better for purees |
Pro Tip: If you have a high-powered blender like a Vitamix, you can pulverize the blackberries (seeds and all) into a smooth puree. This increases the surface area for the yeast to feed on, leading to a faster and more carbonated second fermentation. If you prefer a clearer drink, you can strain this puree through a fine-mesh sieve before adding it to your bottles.
If you enjoy working with aromatics like ginger, you might also like to try our Dont Be Afraid Of The Funk With This Easy Fermented Garlic Recipe/—it uses similar principles of using fresh ingredients to drive fermentation!
Carbonation and Safety: Avoiding the “Boom”
We need to talk about safety. When we seal blackberry ginger kombucha in airtight bottles, the yeast eats the fruit sugar and produces CO2. Without a way to escape, that gas stays in the liquid, creating bubbles. However, too much pressure can lead to “bottle bombs.”
The Importance of Burping Your Bottles
“Burping” is the act of slightly opening the cap of your fermenting bottles to let out a tiny bit of excess pressure.
- Why it matters: It prevents the glass from shattering and helps you gauge how fast the carbonation is building.
- Frequency: During the 3–10 day second fermentation, we recommend burping your bottles once a day.
- The Sink Method: Always open your bottles over a sink, perhaps with a clean rag draped over the top. Blackberry juice stains are no joke!
For a full rundown on keeping your kitchen safe, read Safety First A Guide To Preserving Fermented Foods/.
Troubleshooting Common Beginner Mistakes
- Lack of Fizz: This usually happens if the room is too cold or if you didn’t add enough sugar. Try adding a pinch of white sugar or more ginger to the bottle.
- Off-Flavors: If it tastes like vinegar, you fermented F1 for too long. If it tastes like “old gym socks,” check your sanitation!
- Temperature Fluctuations: Kombucha loves consistency. Avoid placing bottles in direct sunlight or near drafty windows.
The Plastic Bottle Trick: To avoid guessing, fill one small plastic soda bottle with your kombucha mix along with your glass bottles. When the plastic bottle feels rock-hard to the touch, your glass bottles are likely fully carbonated and ready for the fridge.
DIY vs. Commercial: A Flavor and Value Review
Is it worth the effort to make blackberry ginger kombucha at home? In April 2026, as commercial prices for “artisanal” beverages continue to rise, the answer is a resounding yes.
Comparing Commercial Ginger Profiles
Commercial brands like Brew Dr. or GT’s are excellent, but they have to cater to a broad audience. This often means the ginger is “tame.” When you brew at home, you can make a “Ginger Bomb” that clears your sinuses, or a subtle “Berry-Forward” blend where the ginger just provides a hint of warmth.
Commercial versions also often use “essences” or “natural flavors” to maintain consistency. When we make it ourselves, we use 100% real fruit and fresh ginger root. The difference in depth of flavor is night and day.
Why Homemade Wins in April 2026
- Cost: A 16 oz bottle of commercial kombucha can cost $5. A homemade version costs about $0.50.
- Probiotic Density: Commercial kombucha is often filtered or pasteurized to stop fermentation for shelf stability, which can reduce the number of live cultures. Your homebrew is “raw” and teeming with life.
- Freshness: You can use blackberries you picked yourself (or bought that morning), ensuring the highest antioxidant levels.
Health Benefits and Serving Suggestions
Aside from being delicious, blackberry ginger kombucha is a nutritional powerhouse.
Health Benefits of Blackberry Ginger Kombucha
- Digestive Health: The probiotics (Acetobacter and Gluconacetobacter) help balance your gut microbiome.
- Antioxidants: Blackberries are rich in anthocyanins, which give them their dark color and help fight oxidative stress.
- Ginger Power: Ginger is scientifically proven to aid digestion and reduce inflammation.
- Vitamin C: Both the berries and the fermentation process contribute to a healthy dose of Vitamin C.
Nutritional Snapshot (per 8 oz serving):
- Calories: ~65 kcal
- Carbohydrates: 12–16g
- Sugars: 10–15g (most of this is consumed by the yeast!)
- Fiber: 1g (if fruit pulp is left in)
Creative Mocktails and Variations
If you want to dress up your blackberry ginger kombucha, try these ideas:
- The Blackberry Ginger “Mock-ito”: Muddle fresh mint and lime in a glass. Add ice, a splash of sparkling water, and fill the rest with your homemade kombucha. It’s a “sippable mosaic” of summer flavors.
- The Peach Twist: Add half a chopped peach to your F2 bottle along with the blackberries. The peach adds a velvety sweetness that pairs perfectly with ginger.
- Vanilla Berry: Add a drop of vanilla extract or a small piece of a vanilla bean to the bottle. It makes the kombucha taste like a liquid blackberry pie.
Frequently Asked Questions
How long does the second fermentation take for optimal fizz?
It typically takes 3 to 10 days at room temperature. In warmer summer months, it might be ready in just 2 days. In the winter, it could take up to 2 weeks. Always taste-test and check for carbonation daily!
Can I use frozen blackberries instead of fresh?
Yes! In fact, frozen blackberries are often better for carbonation because the freezing process breaks down the cell walls, making the sugars more accessible to the yeast. Just thaw them slightly before mashing.
How should I store my finished kombucha and how long does it last?
Once it reaches your desired fizz level, move the bottles to the refrigerator. This “puts the yeast to sleep” and stops the fermentation. It will stay fresh and delicious for 4 to 6 weeks, though the flavor may become slightly more vinegary over time.
Conclusion
Mastering blackberry ginger kombucha is a rewarding journey that turns your kitchen into a delicious laboratory. By controlling the fermentation process, choosing high-quality ginger, and safely managing your carbonation, you can create a summer beverage that far outshines anything you can find on a grocery store shelf.
At Recipes Guard, we are dedicated to helping you “embrace the funk” and take control of your food supply through fermentation and preservation. Whether you’re making this for the health benefits or just for that crisp, spicy-sweet refreshing taste, you’re now equipped to brew with confidence.
Ready to explore more? Check out More fermentation guides and recipes and start your next batch today!