The Secret to Tender Beef Cheeks via Fermentation
What Is the Beef Cheek Fermentation Technique (And Why It Works So Well)?
The beef cheek fermentation technique is a method of using salt, a starch-based starter (like sticky rice), and controlled temperature to trigger lactic acid fermentation in beef cheeks — transforming a tough, collagen-rich cut into something deeply savory, tangy, and incredibly tender.
Here’s the quick version of how it works:
- Trim the beef cheeks and remove excess fat and silver skin
- Coat with a paste of kosher salt (3% of meat weight), sticky rice, and garlic
- Seal in a vacuum bag or pack tightly in a non-reactive container
- Ferment at 75°F–85°F for 3–5 days until tangy and slightly sour-smelling
- Cook using sous vide, braising, or grilling to finish
That’s the core of it. The sections below go deeper into each step.
Beef cheeks are one of the most worked muscles on a cow. All that constant chewing builds up dense connective tissue packed with collagen and intramuscular fat. That’s actually a good thing for fermentation — more collagen means more gelatin, more fat means more flavor, and more muscle fiber means more surface area for lactic acid bacteria to do their work.
The result? A cut that finishes with a rich, umami-forward flavor profile and a texture that practically melts. It’s the kind of thing that makes people ask, “What did you do to this meat?”
This guide covers everything: the science, the safety, the step-by-step process, and the cultural traditions behind it — from Thai Naem-style fermentation to Middle Eastern Pastirma.

Why Beef Cheek is the Ultimate Canvas for Fermentation
When we talk about the beef cheek fermentation technique, we are dealing with a “secondary cut.” In the culinary world, primary cuts like loins and fillets get all the glory because they are naturally tender. Secondary cuts, like the cheek, are the hardworking heroes. Because cows spend their lives chewing cud, the facial muscles become incredibly dense and fibrous.
If you were to throw a raw beef cheek on a grill like a ribeye, you’d be chewing until April 2027. However, this toughness is exactly why it is the ultimate canvas for fermentation. Beef cheeks are rich in collagen, a structural protein that, when broken down, turns into silky gelatin. While traditional methods like Teochew-Style Simmered Beef Cheeks use long, slow simmering to achieve this, fermentation adds a preparatory layer of “predigestion.”
The lactic acid produced during fermentation begins to weaken the muscle fibers and starts the breakdown of connective tissue before the meat even hits the heat. Furthermore, the high intramuscular fat content ensures that the meat remains moist and carries the complex, funky flavors of the ferment deep into the muscle. This is “nose-to-tail” cooking at its most scientific and delicious.
Mastering the Beef Cheek Fermentation Technique
To master this, we have to talk about the “good guys”: Lactobacillales. These are salt-tolerant bacteria that consume sugars and produce lactic acid. In the beef cheek fermentation technique, we are creating a specific environment where these bacteria can thrive while keeping harmful pathogens at bay.
The Safety Threshold: pH 4.6
The most critical number in meat fermentation is 4.6. This is the pH level at which Clostridium botulinum (the bacteria that causes botulism) cannot reproduce. When we ferment beef cheeks, our goal is to drop the pH of the meat to 4.6 or below as quickly as possible. Following a Safety First: A Guide to Preserving Fermented Foods approach is non-negotiable here.
The Salt Factor: Equilibrium Cure
We use an “equilibrium cure” method. This means we calculate the salt as a precise percentage of the meat’s weight. For beef cheeks, a concentration of 3% kosher salt (approximately 21 grams of salt per 1.5 lbs of meat) is the gold standard. This concentration is high enough to inhibit “bad” bacteria but low enough to allow the Lactobacillales to do their job.
Unlike simple pickling or smoking, fermentation is a biological change. Here is how it stacks up against other methods:
| Feature | Fermentation | Pickling | Smoking |
|---|---|---|---|
| Primary Agent | Live Bacteria (Lactic Acid) | Acid (Vinegar) | Heat & Smoke Phenols |
| Texture Change | Enzymatic Softening | Acidic Firming | Surface Dehydration |
| Flavor Profile | Tangy, Umami, “Funky” | Sharp, Sour, Salty | Woody, Savory, Sweet |
| Safety Mechanism | Low pH (< 4.6) | High Acidity | Water Activity Reduction |
| Prep Time | 3–7 Days | 1–3 Days | 4–12 Hours |
The Role of Starters in Beef Cheek Fermentation Technique
Since beef is relatively low in the types of sugars that lactic acid bacteria love, we need to provide a “lunchbox” for them. This is where the starter comes in. In the Thai Naem tradition, we use cooked sticky rice.
The bacteria consume the starches in the sticky rice, converting them into the lactic acid that preserves and flavors the meat. This process is similar to how you might use a starter for other pungent ferments; for instance, you can see how garlic interacts with these cultures in our guide: Don’t Be Afraid of the Funk with This Easy Fermented Garlic Recipe.
The addition of sticky rice speeds up microbial activity, ensuring the meat reaches that safe pH zone faster. Without a sugar source, the fermentation might stall, leaving the meat vulnerable to spoilage.
Recognizing Successful Beef Cheek Fermentation Technique
How do you know it’s working? Your senses are your best tools.
- The Smell: Successful fermentation should smell sweet, tangy, and slightly lactic (like yogurt or sourdough). If it smells putrid, rancid, or like “old gym socks,” toss it.
- The Color: You might notice the meat brightening or, conversely, the garlic turning a strange shade of blue or green. Don’t panic! The “green garlic phenomenon” is a harmless reaction between the sulfur in the garlic and the acid in the ferment.
- The Texture: The meat should feel slightly softer and more “cured” than raw meat.
- The Environment: For the best results, we want a temperature range of 75°F to 85°F and a humidity level of around 50%. If it’s too cold, the bacteria sleep; if it’s too hot, you risk growing the wrong things.
If you’ve ever made a Slow cooked Italian beef cheek ragù, you know how important texture is. Fermentation gives you a head start on that “shreddable” quality.
Essential Equipment and Preparation Steps
Before you start slathering your meat in rice paste, you need to get your station ready. Fermenting meat requires a higher level of cleanliness than standard cooking.

The Prep List:
- Trimming: Use a sharp boning knife to remove the “silver skin” (the tough, iridescent membrane) and any large chunks of hard exterior fat. While intramuscular fat is good, exterior fat can go rancid during a warm ferment.
- Vacuum Sealer: An anaerobic (oxygen-free) environment is vital for preventing mold. A vacuum sealer is the easiest way to achieve this, though we’ll discuss alternatives later.
- pH Test Strips: To be 100% sure your beef cheek fermentation technique is safe, you need to test the meat. You’re looking for that 4.6 reading.
- Non-reactive Containers: If you aren’t using bags, use glass or food-grade plastic. Avoid reactive metals like aluminum.
- Immersion Circulator (Sous Vide): While not used for the fermenting itself, this is the best way to cook the cheeks afterward to maintain the benefits of the ferment.
If you’ve mastered Quick and Easy Pickled Vegetables for Every Meal, you already have the basic “cleanliness” mindset needed for meat.
Step-by-Step Guide to Fermenting Beef Cheeks
Ready to get your hands dirty? This paste is, as some chefs say, “sticky AF,” so you might want to wear gloves.
1. Create the Fermentation Paste
In a food processor, combine:
- 108 grams of cooked, cooled sticky rice (short grain).
- 30 grams of fresh garlic (peel it yourself for the best microbial punch).
- 21 grams of kosher salt.
Pulse until it forms a smooth, gluey paste. This is the engine of your beef cheek fermentation technique. It’s a similar logic to the base of a Mastering the Art of Lacto-Fermented Hot Sauce, where aromatics and salt create the environment for the “funk.”
2. Apply the Cure
Take your trimmed beef cheeks (about 1.5 lbs or 680g) and slather them in the paste. Ensure every nook and cranny is covered. This isn’t just for flavor; the salt in the paste is protecting the surface of the meat.
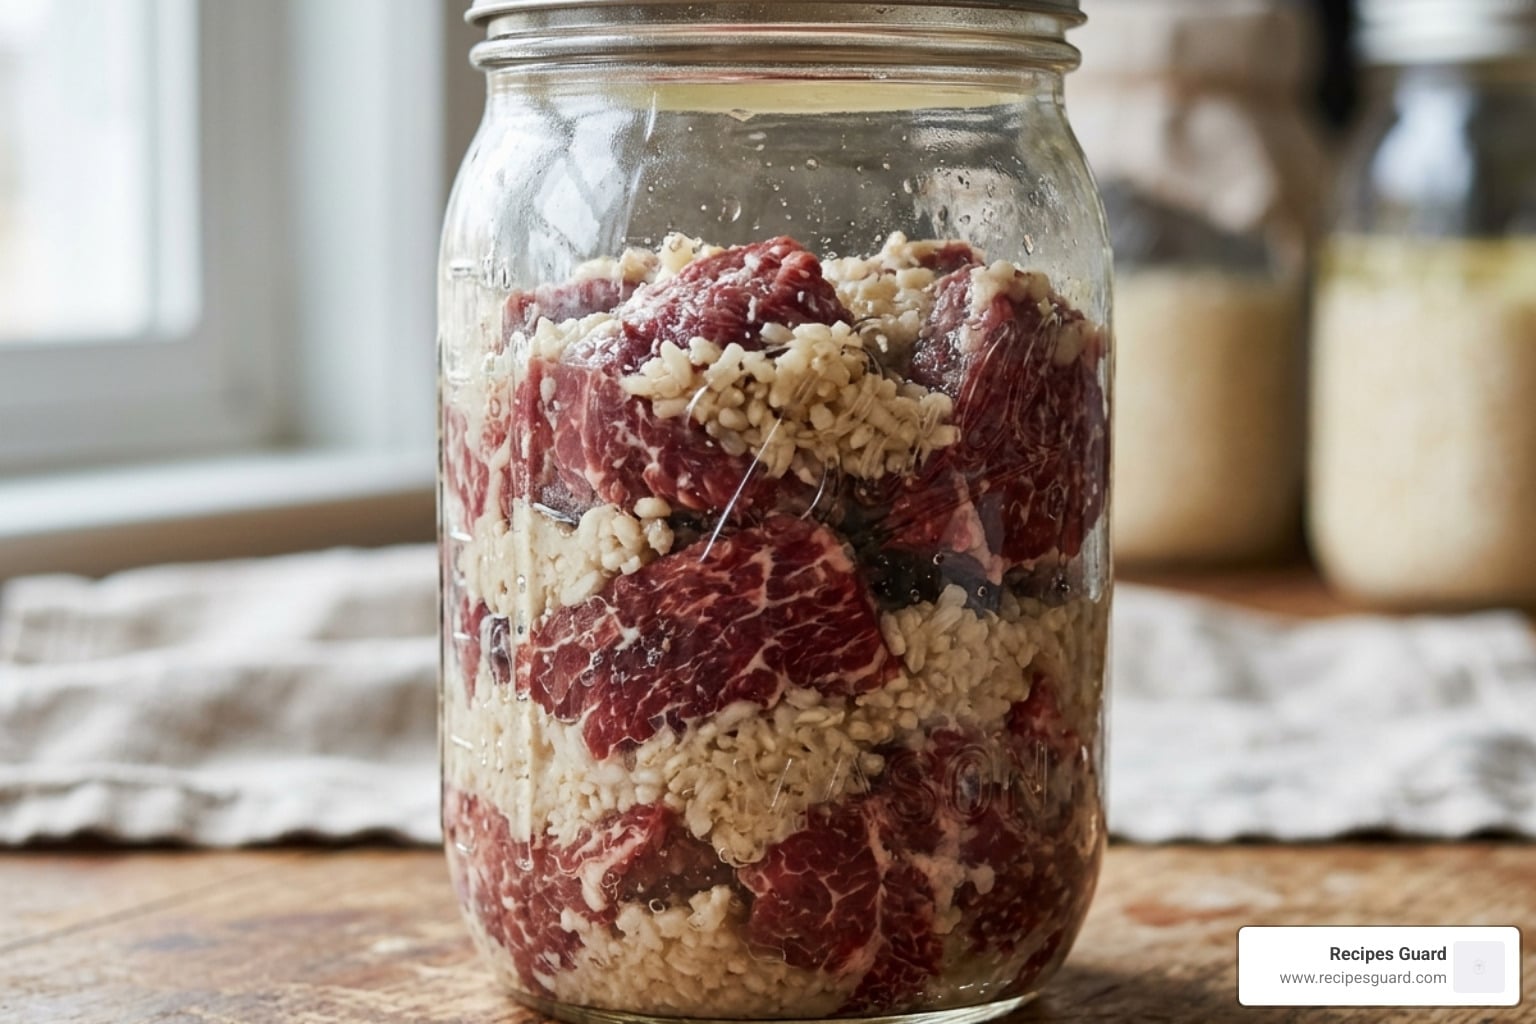
3. The Seal
Place the coated cheeks into a vacuum bag. Fold the top of the bag down before inserting the meat so the “sealing zone” stays clean of rice paste. Vacuum seal the bag on the “moist” setting. If you don’t have a sealer, use a heavy-duty Ziploc bag and the “water displacement method” to get the air out.
4. The Wait
Place the bag in a warm, well-ventilated spot (75°F–85°F). A kitchen counter is usually fine in the summer, but in April 2026, if your kitchen is chilly, you might use the top of the refrigerator. Let it sit for 3 to 5 days.
5. The Sniff Test
After 3–5 days, open the bag. You should be hit with a pleasant, tangy aroma. If you have pH strips, blend a small piece of the meat with a little distilled water and test it. If it’s 4.6 or lower, you’re in the clear!
Post-Fermentation Cooking and Cultural Adaptations
Now that you have fermented beef, how do you eat it? You can’t just eat it raw (unless you are a very experienced charcuterie expert following specific Nem Chua protocols, but for home cooks, we always recommend cooking).
The Naem-Style Finish
In Thailand, fermented ribs or cheeks are often grilled or fried. The sugars in the sticky rice caramelize beautifully, creating a charred, sweet-and-sour crust.
The Pastirma Adaptation
Turkish Pastirma is a cousin to this technique. It involves a salt cure followed by a heavy coating of cemen—a paste made of fenugreek, garlic, and hot paprika. The meat is then air-dried. While traditional pastirma uses lean cuts like eye of round, using the beef cheek fermentation technique with a cemen crust creates a decadent, fatty version of this ancient delicacy.
The Modern “Sous-Vide” Method
For the ultimate texture, we recommend the 48-hour sous-vide.
- Sear: Remove the cheeks from the bag, wipe off excess rice (or leave a little for crust!), and sear them in a hot cast-iron pan or with a kitchen torch until blackened.
- Bath: Re-bag them and sous-vide at 135°F for 48 hours.
- Result: The fermentation has already tenderized the meat, and the 48-hour bath turns the collagen into pure liquid gold.
Explore more ways to use your finished product in our Fermented Recipes section.
Common Mistakes and Safety Precautions
We want your fermentation journey to be delicious, not dangerous. Here is what to watch out for:
- Off-Odors: We’ve said it before, but it bears repeating. If it smells like rot, it is rot. Fermentation is a “controlled rot,” but the “control” part is the most important.
- Case Hardening: This usually happens in air-dried ferments (like Pastirma) if the humidity is too low. The outside dries too fast, trapping moisture inside and causing spoilage. Keep your humidity around 50-60%.
- Temperature Fluctuations: If your kitchen drops to 50°F at night, the fermentation will stall. Try to keep it consistent.
- Not Trimming Enough Fat: While intramuscular fat is great, thick layers of exterior fat don’t ferment; they just oxidize. Trim them off!
- Cross-Contamination: Always use clean tools. If you’re checking the meat, don’t use the same fork you used to eat your lunch.
Storage Life: Once fermented and cooked, beef cheeks can be kept in the refrigerator for 1 to 2 months if kept in their cooking juices, or frozen for up to 6 months. For more on this, check out our Safety First: A Guide to Preserving Fermented Foods manual.
Frequently Asked Questions about Beef Cheek Fermentation
Is the green garlic in my ferment safe to eat?
Yes! As mentioned, this is a natural chemical reaction. It happens when the sulfur compounds in garlic react with the amino acids and the acidic environment of the ferment. It’s purely aesthetic and won’t affect the flavor or safety.
How do I know if my beef cheeks have reached the safe pH level?
The only way to be 100% certain is to use a pH meter or pH test strips. You are looking for a reading of 4.6 or lower. However, a strong, clean, tangy smell and a fermentation time of at least 3 days in the correct temperature range are very strong indicators of success.
Can I ferment beef cheeks without a vacuum sealer?
You can. You’ll need a non-reactive container (like a glass crock) and a way to keep the meat submerged or packed so tightly that air can’t get in. Many traditional cultures use banana leaves or tightly wrapped plastic wrap to achieve this. The goal is simply to keep oxygen away from the surface of the meat.
Conclusion
The beef cheek fermentation technique is more than just a recipe; it’s a bridge between ancient preservation and modern culinary art. By taking a “tough” cut and giving it the time and microbial environment it needs, we unlock flavors that simply cannot be achieved through traditional braising alone.
Whether you’re serving these cheeks shredded over creamy polenta, tucked into tacos with a bright pico de gallo, or as a centerpiece for a 2026 dinner party, you’re participating in a rich tradition of food mastery.
At Recipes Guard, we believe that understanding the “why” behind the “how” is the key to kitchen confidence. For more guides on the science of flavor, visit our More info about preserving basics page.
Now, go forth and embrace the funk! Your taste buds (and that once-tough beef cheek) will thank you.