How to Make Traditionally Pickled and Fermented Garlic Scapes
What Is a Garlic Scape Ferment — and How Do You Make One?
Garlic scape ferment is one of the best ways to preserve this short-season ingredient. Here’s the quick answer:
How to ferment garlic scapes (at a glance):
- Trim your scapes and pack them into a clean mason jar (whole, diced, or blended into a paste)
- Make a brine — 2 tablespoons of non-iodized salt per quart (or liter) of dechlorinated water
- Submerge the scapes fully under the brine using a glass weight
- Cover loosely with an airlock lid or breathable cover to let gases escape
- Ferment at room temperature for 7 to 14 days, tasting as you go
- Refrigerate once the flavor is to your liking — they’ll keep for up to a year
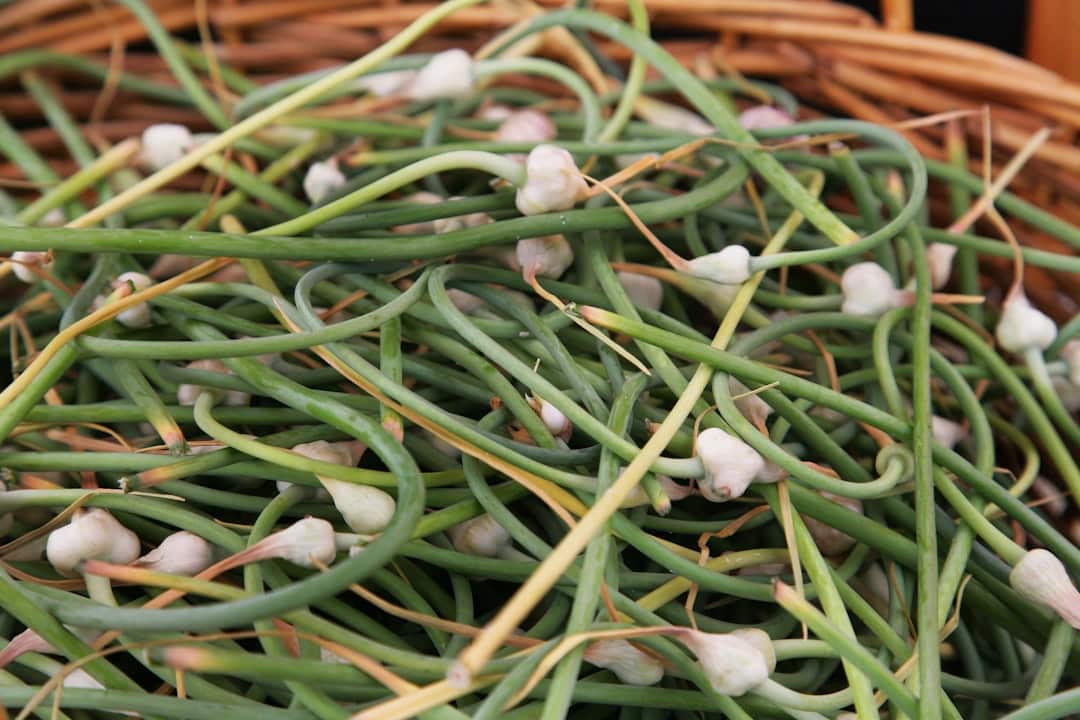
Garlic scapes are the curly flower stalks that shoot up from hardneck garlic plants in late spring and early summer. Farmers and home growers cut them off on purpose — removing the scape sends the plant’s energy back down into the bulb, producing a bigger, better garlic harvest.
That means scapes are a bonus crop. And a delicious one.
Their flavor is milder than a garlic clove, with a fresh green edge that’s somewhere between scallion and asparagus. They’re tender, versatile, and — as you’re about to see — ideal for lacto-fermentation.
Whether you want crisp tangy pickles or a potent spreadable paste you can spoon into almost anything, this guide covers both methods from start to finish.

Why Garlic Scapes are Perfect for Lacto-Fermentation
When we talk about a garlic scape ferment, we are entering the wonderful world of lacto-fermentation. This isn’t your standard vinegar pickling. Instead, we rely on Lactobacillus, a friendly bacteria naturally present on the surface of the scapes. When placed in a salty, oxygen-free environment, these bacteria consume the natural sugars in the plant and produce lactic acid.
This process does two amazing things: it preserves the food by creating an acidic environment where “bad” bacteria can’t survive, and it creates a tangy, complex flavor profile that vinegar simply can’t match.

Garlic scapes are particularly well-suited for this for several reasons:
- Texture: They have a dense, snappy structure similar to a green bean or asparagus. Unlike some vegetables that turn mushy (we’re looking at you, fermented asparagus), scapes stay remarkably crisp.
- Flavor: They offer a “garlic-lite” experience. You get all the aromatic depth of garlic without the aggressive, spicy bite of a raw clove. Fermentation rounds out these flavors, adding a pleasant sourness.
- Probiotic Power: By choosing a garlic scape ferment over a heat-processed canned pickle, you are preserving the live enzymes and beneficial bacteria. According to research on the probiotic benefits of Lactic Acid Bacteria, these microbes support gut health and immune function.
- Popularity: This isn’t just a niche hobby. Recipes for fermented scapes have been shared hundreds of times across the homesteading community, often receiving perfect 5-star ratings for their simplicity and taste.
If you are new to this world, we recommend checking out our Category: Fermented Recipes to see how scapes fit into a larger tradition of food preservation.
Essential Equipment and Ingredients for Success
Success in fermentation is 10% ingredients and 90% environment. We want to make sure the “good guys” (Lactobacillus) win the race against mold and yeast. To do that, we need the right kit.
The Ingredients
- Garlic Scapes: Use fresh, tender scapes. If they are woody or starting to turn brown, they won’t ferment well.
- Salt: This is critical. Use non-iodized salt, such as sea salt or kosher salt. Iodine and anti-caking agents found in table salt can inhibit fermentation or turn your brine a muddy, unappealing color.
- Water: Use dechlorinated water. Chlorine is designed to kill bacteria—which is exactly what we are trying to grow! If you have city water, simply boil it for 15 minutes and let it cool, or use a charcoal filter.
- Optional Aromatics: Dill seeds, red pepper flakes, peppercorns, or even lemon juice (for the paste method) can enhance the final flavor.
The Equipment
- Glass Jars: Wide-mouth quart or pint mason jars are the gold standard.
- Weights: You must keep the scapes submerged. Glass fermentation weights (often called “pebbles”) are perfect. In a pinch, a small clean stone or a water-filled plastic bag works too.
- Lids: While you can just “burp” a standard lid daily, we prefer airlock lids or “pickle pipes.” These allow carbon dioxide to escape without letting oxygen (and mold spores) in.
For a deeper dive into staying safe while you play with “the funk,” read our Safety First: A Guide to Preserving Fermented Foods.
Method Comparison Table
| Feature | Whole/Diced Brine Method | Fermented Scape Paste |
|---|---|---|
| Preparation | Trimming and coiling/chopping | Blending in food processor |
| Brine | External salt-water solution | Self-brining (salt draws out juice) |
| Texture | Crisp, like a pickle | Rough pesto-like consistency |
| Best For | Snacking, charcuterie, salads | Marinades, dressings, spreads |
| Fermentation Time | 7–21 days | 5–14 days |
Primary Methods for a Successful Garlic Scape Ferment
There are two main ways we like to approach a garlic scape ferment. One treats the scape like a traditional pickle, while the other transforms it into a “convenience food” garlic concentrate. If you’ve ever tried our Don’t Be Afraid of the Funk with This Easy Fermented Garlic Recipe, you’ll find these methods very familiar.
Step-by-Step Guide to a Whole Garlic Scape Ferment
This method preserves the beautiful, serpentine shape of the scapes. They look stunning on a plate and provide a satisfying crunch.
- Prepare the Scapes: Wash the scapes and trim off the tough, woody bottom ends. You can leave the flower head on or snip it off (see the FAQ below).
- Pack the Jar: Gently coil the scapes and push them into a clean quart jar. If they are too unruly, you can dice them into 1-inch pieces instead.
- Add Spices: Drop in 1/2 teaspoon of dill seed, 1/4 teaspoon of red pepper flakes, and a few black peppercorns.
- The Brine: Mix 2 tablespoons of sea salt into 1 quart of room-temperature dechlorinated water. Stir until dissolved.
- Submerge: Pour the brine over the scapes until they are completely covered, leaving about an inch of headspace at the top. Place your fermentation weight on top to ensure no green bits float to the surface.
- Seal and Wait: Cap the jar with an airlock. Place it in a cool, dark spot (68°F–72°F is the “sweet spot”).
- Monitor: Check daily. You should see bubbles within 2–3 days. This is a sign of life! The brine will likely turn cloudy—don’t panic, that’s normal.
How to Prepare a Potent Garlic Scape Ferment Paste
If you want a “garlic bomb” that you can add to soups or sauces in seconds, the paste method is for you. This is very similar to the technique used in Mastering the Art of Lacto-Fermented Hot Sauce.
- Chop: Roughly chop 1 pound of scapes.
- Process: Place the scapes in a food processor with 1.5 teaspoons of sea salt and 1.5 tablespoons of fresh lemon juice.
- Pulse: Blend until you have a coarse, spreadable paste (think rustic pesto).
- Pack: Transfer the paste to a jar. Use a tamper or a heavy spoon to press it down firmly. You want to squeeze out any air pockets. As you press, the salt will draw moisture out of the scapes, creating a “self-brine” that rises to the top.
- Weight: Place a weight on the paste to keep the solids under that thin layer of liquid.
- Ferment: This method usually moves faster because the surface area is higher. Start tasting after 5 days.
Monitoring, Safety, and Long-Term Storage
The most common question we get is: “How do I know it’s working?”
During the first 7 to 14 days, your garlic scape ferment will go through a transformation. The bright green color of the scapes will dull slightly, turning more of an olive drab. The brine will become cloudy. You will see bubbles rising to the top, and if you aren’t using an airlock, you’ll hear a “hiss” when you burp the jar.
Is It Safe?
Fermentation is incredibly safe because the lactic acid creates a “kill zone” for pathogens. However, keep an eye out for:
- Mold: Fuzzy growth on the surface. If it’s colorful (black, green, red), toss the batch. If it’s just a thin white film, it might be Kahm yeast.
- Kahm Yeast: A flat, white, wavy film on the surface. It’s harmless but can affect the flavor. You can scrape it off, but it usually means your ferment is getting too warm or has too much oxygen exposure.
- The Smell Test: It should smell like garlic and pickles—tangy, sharp, and appetizing. If it smells like “old gym socks” or rot, trust your nose and discard it.
Storage
Once the scapes have reached your desired level of tanginess (usually around day 10 for most people), move the jar to the refrigerator. The cold temperature slows the bacteria down to a crawl. In the fridge, your garlic scape ferment will easily last for one year, though we find they are best consumed within six months to maintain the best crunch.
Culinary Uses and Serving Suggestions
Now for the best part: eating them! Fermented garlic scapes are a “secret weapon” in the kitchen.
- The Charcuterie Board: Whole coiled scapes look “posh” and rustic next to cured meats, sharp cheddar, and dried fruits.
- Salad Upgrades: Dice them into a Niçoise salad or a classic potato salad. The tanginess cuts through the creaminess of mayo or the richness of tuna perfectly.
- The “Convenience” Garlic: Use the paste as a 1:1 replacement for minced garlic in stir-fries (add it at the end to preserve the probiotics!) or rub it onto a roast before cooking.
- Garnish: Use a whole scape as a stirrer for a Caesar or Bloody Mary. It’s a conversation starter and a snack all in one.
- The Brine: Don’t throw away the leftover liquid! It is essentially “probiotic vinegar.” Use it in salad dressings, or add a splash to a heavy stew or borscht to brighten the flavor.
- Compound Butter: Mix the fermented paste into softened grass-fed butter for the best garlic bread of your life.
Frequently Asked Questions
How long does a garlic scape ferment last in the fridge?
When stored in a tightly sealed glass jar in the refrigerator, they will safely last for up to a year. However, for the best texture and “zing,” we recommend eating them within 3 to 6 months.
Why did my garlic scapes turn blue or pink during fermentation?
Don’t panic! This is a common chemical reaction. Garlic contains sulfur compounds and enzymes that can react with trace minerals in the water or salt (or even the acid in the ferment) to create pigments called anthocyanins. It is perfectly safe to eat; it just looks like a science experiment!
Can I use the flower head in my garlic scape ferment?
Yes, you can. Some people find the flower head (the “bulb” part) becomes a bit soft or stringy compared to the stalk. If you are doing a long-term ferment, you might want to snip them off and ferment them separately for short-term use, but for a standard 7-day ferment, they are perfectly fine to keep whole.
Conclusion
At Recipes Guard, we believe that food preservation should be approachable, fun, and delicious. Making a garlic scape ferment is the perfect entry point into traditional pickling. It takes a seasonal “waste” product and turns it into a probiotic powerhouse that can brighten your meals all year long.
Whether you choose the elegant whole-stalk brine method or the punchy, versatile paste, you’re embracing a tradition that predates modern refrigeration and tastes a whole lot better too. If you’re ready to expand your skills even further, explore More info about preserving basics to keep your pantry full of “the funk” all year round. Happy fermenting!