Don’t be Salty about Preserving Sun Dried Tomatoes in Olive Oil
Selecting the Best Tomatoes for Intense Flavor
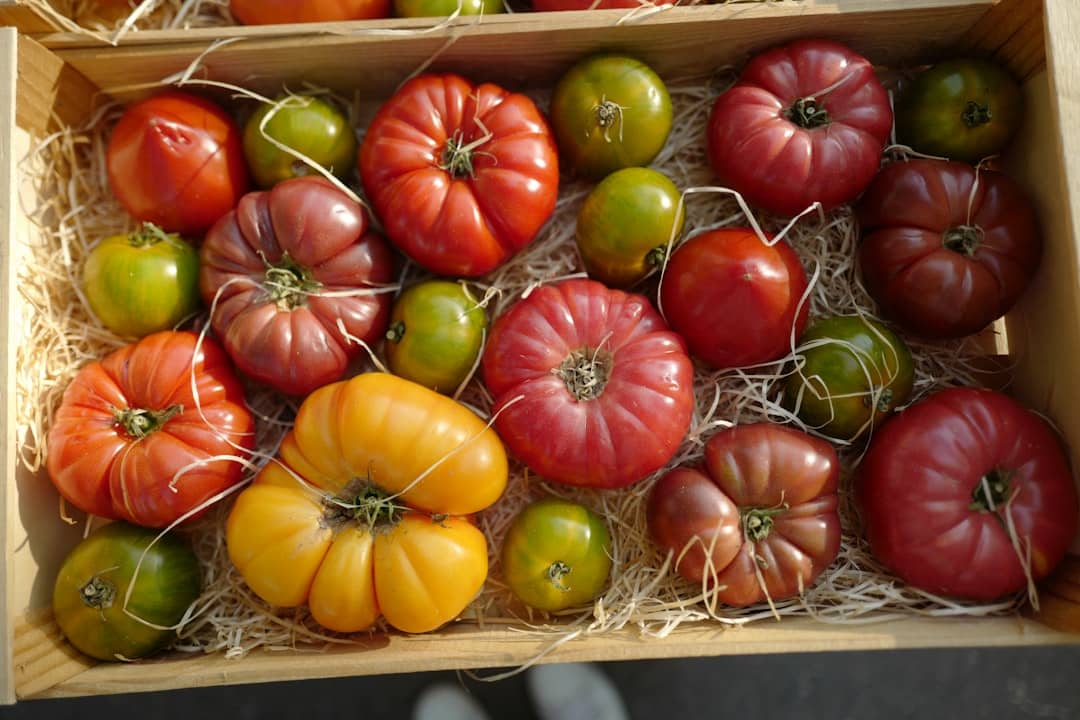
The secret to a world-class jar of preserving sun dried tomatoes in olive oil begins in the garden or at the farmer’s market, not in the kitchen. Not all tomatoes are created equal when it comes to dehydration. If you choose a watery beefsteak tomato, you’ll likely end up with a hollow skin and a very long electric bill.
We recommend focusing on “paste” tomatoes. These varieties are characterized by thick cell walls, dense flesh, and very small seed cavities. Because they have lower water content, they dry faster and retain a meaty, chewy texture that stands up beautifully to oil immersion.
- Roma (Plum) Tomatoes: These are the reliable workhorses of the preservation world. They are affordable, widely available, and provide a classic, balanced flavor.
- San Marzano: Often called the “king” of Italian tomatoes, these offer a premium, sweeter profile with less acidity. They are the gold standard for those seeking an authentic Mediterranean result.
- Heirloom Paste (like Amish Paste): If you grow your own, these offer incredible depth of flavor and a larger size, though they may take slightly longer to dry.
- Cherry and Grape Tomatoes: These are “flavor bombs.” When dried, they turn into sweet, raisin-like morsels. They are perfect for tossing whole into salads or pastas.

The Yield Reality Check
It is helpful to manage your expectations regarding yield. Tomatoes are roughly 90-95% water. When you remove that moisture, the volume shrinks dramatically. A common statistic in the preservation industry is that 1 ounce of dried tomatoes is produced from every 10 standard tomatoes.
If you are starting with a massive 25-pound haul of “seconds” from a local farm, don’t be surprised when they fit into just a few quart jars. For more tips on sourcing and initial prep, check out How to Make Sun-Dried Tomatoes in Olive Oil — The Wine Box Gardener.
Master the Art of Drying: Oven, Dehydrator, and Sun Methods
Before we can even think about the olive oil, we have to master the “sun-dried” part. While the name implies the Italian tradition of laying tomatoes on wooden screens under a scorching Calabrian sun, most of us in April 2026 rely on more controlled indoor methods.
Regardless of the method, the goal is the same: remove enough moisture to prevent mold, but leave enough flexibility so they aren’t brittle.
| Method | Temperature | Time Estimate | Pros/Cons |
|---|---|---|---|
| Oven | 170°F – 200°F | 6 – 12 Hours | Fast and accessible; requires monitoring to prevent burning. |
| Dehydrator | 135°F – 140°F | 8 – 12 Hours | Most consistent; energy efficient; set-and-forget. |
| Sun-Drying | 90°F+ (Low Humidity) | 2 – 5 Days | Traditional flavor; requires specific climate and pest protection. |
The Oven Method
This is the most common home method. We suggest propping the oven door open slightly (about an inch) with a wooden spoon to allow moisture to escape. Arrange halved tomatoes cut-side up on parchment-lined sheets. Check them every hour after the 6-hour mark.
The Dehydrator Method
This is our favorite method at Recipes Guard because it uses a fan to circulate air at a constant, low temperature. Place tomatoes on trays with space between them for airflow. If you’re new to the gear involved, our guide on Preserving Basics can help you get started with the right equipment.
The Doneness Test: The “Leathery” Standard
How do you know they are ready? Take a cooled tomato and press it between your fingers. It should feel like a sturdy raisin or a piece of high-quality leather.
- Too Wet: If any moisture or “squish” comes out, they aren’t done. Storing these in oil at room temperature is dangerous.
- Too Dry: If they snap or crunch like a potato chip, they are over-dried. (Don’t worry, you can still use these—just rehydrate them in warm water or wine for 10 minutes before packing in oil).
- Just Right: Pliable, bendable, and dry to the touch.
The Science of Safety: Preventing Botulism when preserving sun dried tomatoes in olive oil
Now we get to the serious part. Preserving sun dried tomatoes in olive oil involves placing a low-acid food (tomatoes) into an anaerobic (oxygen-free) environment (oil). This is the exact environment where Clostridium botulinum—the bacteria that causes botulism—loves to grow.
Botulism is rare, but it is a serious neurotoxin. Because the bacteria thrive in the absence of oxygen, covering tomatoes in oil creates a potential “petri dish” if the tomatoes still contain water or if fresh, low-acid ingredients like garlic are added.
To keep your kitchen safe, we follow guidelines from authoritative sources like the USDA and the National Center for Home Food Preservation (NCHFP). For a deeper dive into the microbiology of safe storage, read our Safety First: A Guide to Preserving Fermented Foods.

Why the Vinegar Dip is Essential for preserving sun dried tomatoes in olive oil
One of the most effective ways to mitigate risk is the “Vinegar Dip.” Before the tomatoes go into the oil, we dip each dried piece into a bowl of high-quality red wine vinegar.
Why? The vinegar provides an acidic “shield.” Even if a tiny bit of moisture remains inside the tomato, the acidified exterior makes it much harder for harmful bacteria to colonize. It also adds a bright, tangy counterpoint to the rich oil. Some traditional Italian recipes, like this Sun Dried Tomatoes in Olive Oil, Garlic, and Herbs Recipe, emphasize this step for both flavor and longevity.
Fresh vs. Dried: Choosing Herbs and Garlic for preserving sun dried tomatoes in olive oil
This is where many home cooks make a dangerous mistake. Never put fresh garlic cloves or fresh herb sprigs into a jar of oil intended for the pantry.
Fresh garlic is a “low-acid” food that often carries soil-borne bacteria. When submerged in oil at room temperature, it becomes a high-risk factor for botulism.
- Safe Option: Use only dried oregano, dried basil, and dried red pepper flakes. Since the moisture has been removed from these herbs, they don’t provide the water necessary for bacterial growth.
- The Exception: If you absolutely must use fresh garlic for that punchy flavor, you must store the jar in the refrigerator and consume it within 2 to 4 days.
For more on using herbs in preservation, see our tips on Quick and Easy Pickled Vegetables for Every Meal.
Step-by-Step Guide to Packing and Sterilizing Jars
Once your tomatoes are dried and your safety protocols are in place, it’s time to assemble.
- Sterilize Your Jars: Wash your glass jars and lids in hot, soapy water, then submerge them in boiling water for 10 minutes. Let them air dry completely. Any water left in the jar can cause the oil to go rancid or grow mold.
- The First Layer: Pour a small amount of olive oil into the bottom of the jar. Add a pinch of your dried herbs.
- Pack the Tomatoes: Take your vinegar-dipped tomatoes and begin layering them. Press down firmly with a clean spoon or a sterilized “tomato knife” to remove air pockets. Air is the enemy of preservation!
- Add the Oil: Fill the jar with olive oil until the tomatoes are covered by at least half an inch of oil.
- Which oil? Extra Virgin Olive Oil (EVOO) has the best flavor but can solidify and become cloudy in the fridge. “Light” or “Pure” olive oil stays liquid at lower temperatures and has a more neutral flavor that lets the tomato shine.
- Remove Bubbles: Run a clean plastic spatula or skewer around the inside of the jar to release any trapped air bubbles.
- Seal: Wipe the rim of the jar with a clean cloth dipped in vinegar to ensure a perfect seal, then screw on the lid.

If you find yourself with extra snacks that didn’t make it into the jar, check out our guide on How to Save Your Salty Snacks to keep them fresh!
Storage Timelines: Pantry, Fridge, and Freezer Guidelines
It is now April 2026, and modern food safety standards are clearer than ever. The way you store your jars depends entirely on what you put inside them.
The Pantry (The “Traditional” Way) If you have used fully dried tomatoes, a vinegar dip, and no fresh garlic or herbs, your jars are generally shelf-stable. Store them in a cool, dark place (like a cellar or the back of a pantry). They are best used within 6 months. After 6 months, they may begin to darken in color, but they remain safe and flavorful for up to a year.
The Refrigerator (The “Safe” Way) If you are at all worried about the moisture content of your tomatoes, or if you used dried garlic, keep the jars in the fridge. They will last 4 to 6 months.
- Note: If the oil solidifies and looks like white butter, don’t panic! This is a natural property of olive oil. Just take the jar out 20-30 minutes before you need it, and it will liquefy.
The Freezer If you have a massive harvest, consider freezing the dried tomatoes before putting them in oil. Plain dried tomatoes last over a year in the freezer. You can then take out small batches and pack them in oil as needed.
Troubleshooting Common Issues
- Cloudy Oil: If the oil is cloudy at room temperature (not just in the fridge), it may indicate bacterial growth or moisture. If it smells “off” or sour, toss it.
- Mold: If you see fuzzy spots on any tomato sticking out above the oil line, the whole jar must be discarded. Always keep tomatoes submerged!
- Darkening: Tomatoes naturally darken over time. As long as there is no fuzzy mold or foul odor, they are safe.
Culinary Inspiration: Using Your Tomatoes and Infused Oil
Once you’ve mastered preserving sun dried tomatoes in olive oil, you’ve essentially created two products in one: the intense tomato “jewels” and the “liquid gold” oil.
- The Tomatoes: Chop them into a classic “Marry Me Chicken” recipe, fold them into goat cheese for an appetizer, or blend them with pine nuts and parmesan for a Sun-Dried Tomato Pesto.
- The Infused Oil: This oil is packed with the essence of summer. Use it as a base for salad dressings, drizzle it over roasted vegetables, or use it as a sophisticated dip for crusty French bread.
- The Quick Lunch: A slice of sourdough, a smear of ricotta, two oil-packed tomatoes, and a drizzle of the oil. It’s a 5-star meal in 30 seconds.
Frequently Asked Questions about Oil Preservation
How do I know if my tomatoes are dry enough for oil storage?
They should feel like a raisin—pliable and leathery. If you squeeze a tomato and any visible liquid or “juice” appears, it needs more time in the dehydrator or oven. Storing “wet” tomatoes in oil is the primary cause of spoilage.
Can I safely store homemade oil-packed tomatoes at room temperature?
Only if they are 100% dry, dipped in vinegar, and contain no fresh additives (like fresh garlic). However, even then, many extension services (like Oregon State) recommend refrigeration as the “gold standard” for home-preserved oil products to eliminate all risk of botulism.
What should I do if the olive oil solidifies in the refrigerator?
Simply set the jar on the counter for about 20 minutes before your meal. The oil will return to its liquid state without any loss of quality or flavor. Avoid microwaving the jar, as high heat can degrade the delicate flavors of the extra virgin olive oil.
Conclusion
At Recipes Guard, we believe that the best food is the food you make yourself with care and scientific awareness. Preserving sun dried tomatoes in olive oil is a bridge between the bounty of summer and the cravings of winter. By selecting the right meaty tomatoes, ensuring they are dried to a perfect leathery finish, and respecting the rules of acidification and refrigeration, you can fill your pantry with “little red jewels” that put store-bought versions to shame.
Ready to expand your preservation skills? Explore our other guides on Preserving Basics to keep your kitchen thriving all year long. Happy preserving!