The Process of Making Kimchi: Don’t Let Your Veggies Down
What Is the Process of Making Kimchi (And Why It Matters)
The process of making kimchi follows five core steps that transform simple vegetables into a tangy, probiotic-rich fermented food:
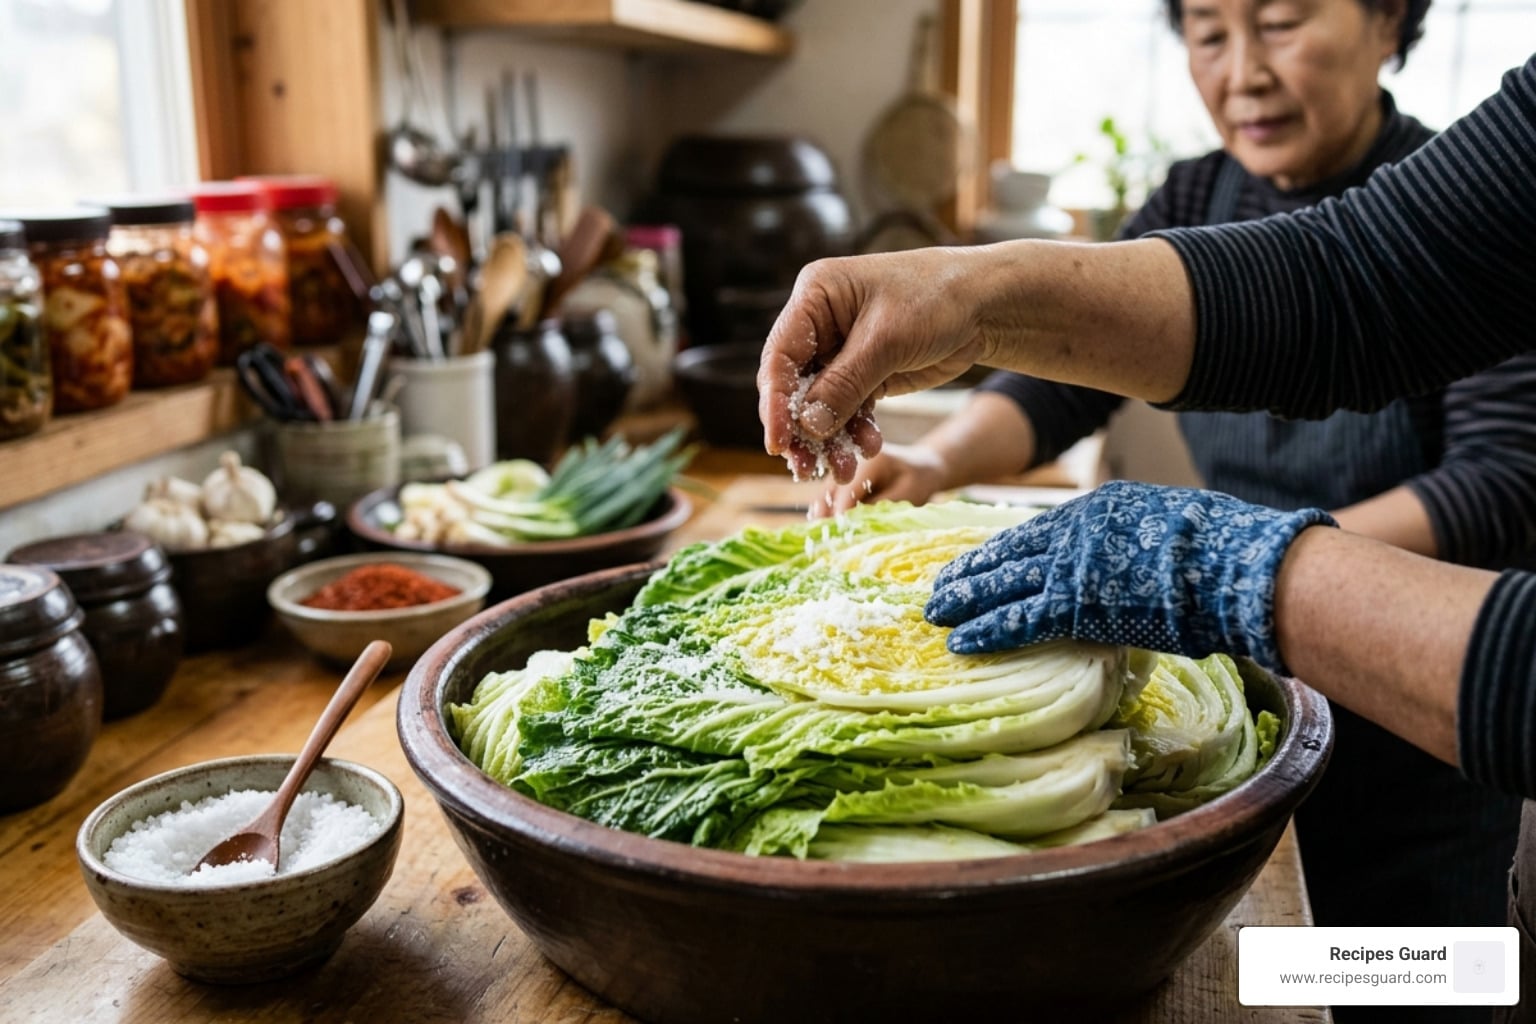
- Salt the cabbage – Brine napa cabbage to draw out moisture and inhibit harmful bacteria
- Make the seasoning paste – Blend gochugaru, garlic, ginger, fish sauce, and a rice flour porridge
- Combine and coat – Toss the drained cabbage and vegetables thoroughly in the paste
- Pack and ferment – Press tightly into jars and ferment at room temperature for 1-2 days
- Refrigerate – Move to the fridge to slow fermentation and develop deeper flavor over weeks
Kimchi is one of those foods that sounds intimidating but is surprisingly approachable once you understand what’s actually happening. At its core, it’s fermented vegetables — most commonly napa cabbage — seasoned with chili, garlic, and ginger, then left to transform through a natural process called lacto-fermentation.
In Korean culture, kimchi is far more than a side dish. It shows up at nearly every meal and carries deep cultural weight. Traditionally, families came together each November for kimjang — a communal kimchi-making event where neighbors would help each other prepare hundreds of heads of cabbage to last through winter. The kimjang tradition was even inscribed on UNESCO’s Intangible Cultural Heritage list in 2013.
Beyond culture, kimchi is packed with live probiotic bacteria, vitamins A, C, and B complex, and beneficial plant compounds. With over 200 recognized variations across Korea, there’s a version for almost every taste and dietary need.
Whether you’re a fermentation enthusiast looking to preserve your own food at home, or just tired of paying premium prices for a small jar at the store — making kimchi yourself is deeply rewarding.

Essential Ingredients and Equipment for Traditional Kimchi
Before we dive into the process of making kimchi, we need to gather our tools and ingredients. Think of this as setting the stage for a microbial masterpiece. You don’t need a professional laboratory, but quality matters.
The Produce and Seasonings
- Napa Cabbage: Look for heavy, crisp heads with light green outer leaves. In April 2026, you can find these year-round, but the density of the cabbage affects how much water it releases.
- Gochugaru: These are Korean red chili flakes. They are distinct from standard crushed red pepper because they offer a smoky, fruity heat and a vibrant crimson color without being overwhelmingly spicy.
- Fish Sauce and Salted Shrimp (Saeujeot): These provide the “soul” of the kimchi—that deep, savory umami. Salted fermented shrimp are tiny, translucent shrimp that pack a massive flavor punch.
- Aromatics: Fresh garlic, ginger, and onion are non-negotiable. Be careful with the ginger, though; too much can make your batch sticky or bitter.
- Vegetables: Daikon radish (cut into matchsticks), scallions, and sometimes carrots add crunch and complexity.
The Gear
- Glass Fermentation Jars: Glass is ideal because it doesn’t absorb odors and allows you to see the bubbles forming. Ensure you use food-safe containers.
- Non-iodized Salt: This is crucial. Iodine can inhibit the growth of the beneficial bacteria we want. Coarse Korean sea salt (cheonilyeom) is the gold standard, but Kosher salt works well too.
- Large Bowls: You’ll need more space than you think for tossing the cabbage.
- Gloves: Unless you want “kimchi hands” (stained skin and a lingering garlic scent), disposable gloves are your best friend when mixing the paste.
If you are new to preserving, you might also be interested in our guide on Quick and Easy Pickled Vegetables for Every Meal to get your feet wet with simpler vinegar-based methods before tackling full fermentation.

The Critical First Step: Salting and Brining the Cabbage
The process of making kimchi truly begins with salt. This isn’t just for flavor; it’s a scientific necessity. Through a process called osmosis, salt draws water out of the cabbage cells. This does three vital things:
- Softens the texture: It turns brittle leaves into flexible, pliable strips that won’t snap.
- Inhibits pathogens: Most harmful bacteria cannot survive in a salty environment, but our “hero” bacteria—Lactobacillus—thrive there.
- Concentrates flavor: By removing excess water, the seasonings can penetrate deep into the vegetable fibers.
Aim for a final salt concentration of about 2-5%. This balance ensures safety while keeping the cabbage crisp. For a deep dive into the traditional method, check out this guide on Kimchi | How to Make Traditional Napa Cabbage Kimchi – Seonkyoung Longest.
Mastering the Brining Process of Making Kimchi
There are two main ways to handle the brine: the dry method and the wet method.
- Dry Brine: You sprinkle salt directly between every leaf of the cabbage quarters. This is traditional for Tongbaechu-kimchi (whole cabbage kimchi). It usually takes 6-8 hours.
- Wet Brine: You submerge chopped cabbage pieces in a salty water solution. This is faster (usually 1.5 to 2 hours) and is often used for Mak-kimchi (easy/chopped kimchi).
The Stem Flexibility Test: How do you know if it’s ready? Take a thick piece of the cabbage stem and try to bend it. If it snaps, it needs more time. If it bends into a “U” shape without breaking, it’s perfectly salted.
Once salted, you must rinse the cabbage thoroughly—usually three times—to remove excess surface salt. Drain it in a colander for at least an hour. If the cabbage is too wet, your seasoning paste will slide right off and become watery.
Crafting the Seasoning Paste and Porridge
While the cabbage drains, we prepare the flavor engine. Traditional kimchi often uses a “porridge” made from sweet rice flour (glutinous rice flour) and water. We simmer these together until they form a translucent, viscous paste.
Why do we do this?
- Texture: It acts as a glue, helping the spices and aromatics stick to the smooth cabbage leaves.
- Fuel: The starch in the rice flour provides extra “food” for the bacteria to jump-start the fermentation.
Once the porridge cools, we mix in the gochugaru, fish sauce, minced garlic, ginger, and grated onion. Some recipes also call for a grated Asian pear or apple to add a natural sweetness that balances the salt and heat. If you enjoy the science of spicy ferments, you might also like Mastering the Art of Lacto-Fermented Hot Sauce.
Flavor Profiles in the Process of Making Kimchi
The beauty of the process of making kimchi is its adaptability.
- Vegetarian/Vegan Options: You can swap fish sauce and salted shrimp for soy sauce, kelp powder, or even a bit of miso paste to maintain that umami depth.
- The Aromatics: A common mistake is overdoing the garlic or ginger. Too much garlic can lead to a bitter aftertaste, while too much ginger can make the texture “sticky” or slimy.
- Vegetable Mix-ins: This is where you add your julienned radish and scallions. They absorb the paste and become delicious little flavor bombs nestled between the cabbage leaves.
Understanding the Science: The Fermentation Process of Making Kimchi
Now we enter the most exciting phase: lacto-fermentation. This is a biological transformation where wild cultures of Lactic Acid Bacteria (LAB), naturally present on the vegetables, begin to consume the sugars in the cabbage and rice porridge.
As they eat, they produce lactic acid and carbon dioxide. The lactic acid lowers the pH of the mixture, creating an acidic environment (ideally between 4.2 and 4.6 pH). This acidity preserves the food indefinitely as long as it’s kept away from oxygen. For more on the rules of safe fermenting, read our Safety First: A Guide to Preserving Fermented Foods.
Fermentation Timelines: Room Temp vs. Fridge
| Condition | Typical Timeframe | Resulting Flavor |
|---|---|---|
| Room Temp (65-70°F) | 1 – 3 Days | Sharp, tangy, fast development |
| Refrigeration (38-40°F) | 2 – 4 Weeks | Complex, effervescent, mellow |
| Long-term Aging | 3 – 6 Months | Deeply sour, soft texture (great for stews) |
Monitoring Your Fermentation Progress
How do you know it’s working?
- Bubbles: You should see tiny bubbles of carbon dioxide trapped in the paste or rising to the top. This is a sign of life!
- The Smell: It should smell sour and garlicky, like a good pickle. If it smells like rotting garbage or “off” in a way that makes you recoil, something has gone wrong.
- Burping: If you are using a tight-fitting lid, you must “burp” the jar daily to release the built-up gas. Failure to do this can lead to a messy (and potentially dangerous) “kimchi explosion.”
- Submerging: Always press the vegetables down firmly with a clean spoon to ensure they are submerged in their own juices. Oxygen is the enemy of lacto-fermentation; if the veggies are exposed to air, they can grow mold.
Storage, Safety, and Troubleshooting
Once the kimchi has reached your preferred level of tanginess at room temperature, move it to the refrigerator. Cold temperatures don’t stop fermentation, but they slow it down significantly, allowing the flavors to mature and “marry” over time.
Shelf Life and Safety
Kimchi is a champion of shelf life. In a cold fridge, it can last for six months to a year. Over time, it will become increasingly sour. This “old” kimchi (shin-kimchi) is actually a prized ingredient in Korean cooking, used for pancakes and stews.
White Mold vs. Spoilage:
- Kahm Yeast: Sometimes a thin, white, filmy layer appears on the surface. This is usually Kahm yeast. It’s not harmful, but it can affect the flavor. You can usually scrape it off.
- Fuzzy Mold: If you see green, black, or fuzzy white mold, the batch is compromised. Toss it out and start over.
Odor Control: Let’s be honest—kimchi is pungent. To keep your fridge from smelling like a garlic factory, use high-quality glass jars with tight lids, or consider a dedicated “kimchi fridge” if you become a serious enthusiast. You can find many more ideas in our Fermented Recipes section.
Frequently Asked Questions about Kimchi Making
Can I eat kimchi immediately or must it ferment fully?
You can absolutely eat it immediately! This is known as geotjeori (fresh kimchi). It tastes like a vibrant, spicy salad. However, it won’t have the signature sour tang or the probiotic benefits of fermented kimchi. Most people find that the flavor peaks after about two weeks in the refrigerator.
How do I make my kimchi less spicy or vegan-friendly?
To reduce the heat, simply cut the amount of gochugaru in half. You can also substitute some of the chili flakes with mild paprika for color without the burn. For a vegan version, replace fish sauce with a mixture of soy sauce and a teaspoon of sugar, or use a “seaweed broth” made by boiling dried kelp (dashima).
Why is my kimchi bitter, mushy, or not bubbling?
- Bitter: This is often caused by using salt with additives (like iodine) or poor-quality gochugaru. It can also happen if the cabbage was over-salted or if you used too much ginger.
- Mushy: This usually happens if the fermentation temperature was too warm (above 75°F) or if the cabbage wasn’t salted enough to protect the structure.
- Not Bubbling: If it’s cold in your kitchen, fermentation will be slow. Give it another day or two. Also, ensure you didn’t use chlorinated tap water, which can sometimes kill the beneficial bacteria.
Conclusion
The process of making kimchi is a journey that connects us to ancient preservation traditions while providing modern health benefits. As we move through April 2026, home fermentation continues to be a top trend for those looking to improve gut health and reduce food waste.
Don’t let the science or the cultural history intimidate you. Even if your first batch isn’t “perfect,” it will likely still be better than anything you can buy at a standard grocery store. With each jar, you’ll learn more about the rhythm of the microbes and the balance of flavors.
Ready to expand your fermentation pantry? Explore more fermented recipes at Recipes Guard and join our community of home preservation masters. Happy fermenting!