How to Make Preserving Jam Recipes: 5 Methods that Guarantee Results
Why Preserving Jam Recipes Are Worth Learning This Season
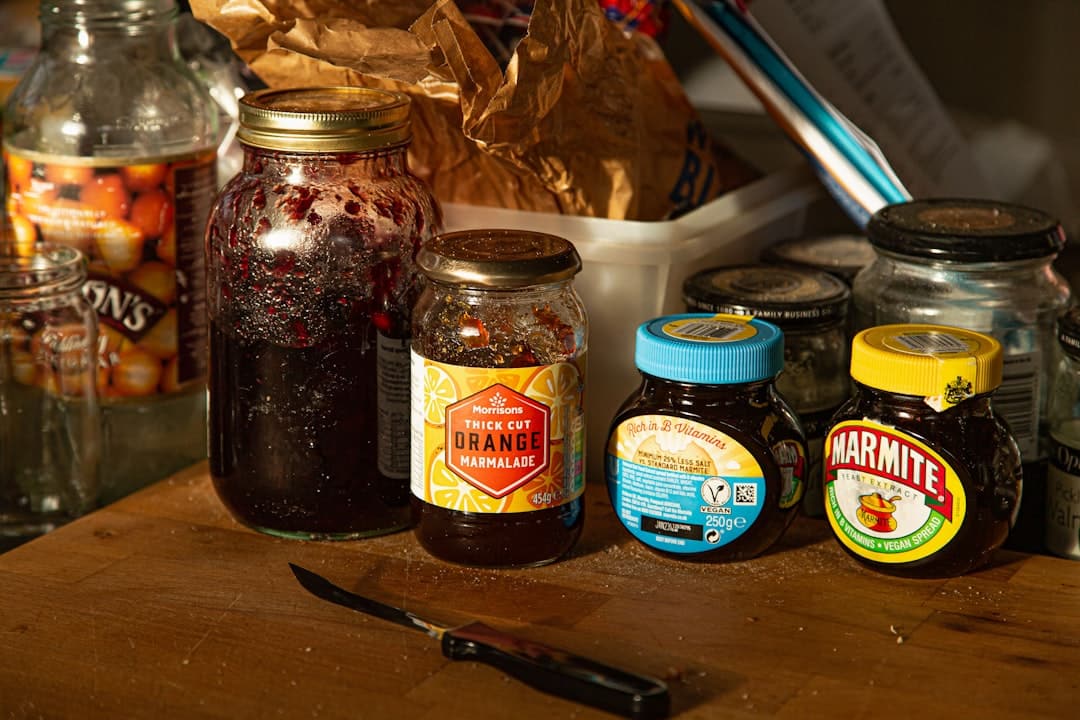
Preserving jam recipes is one of the most rewarding skills a home cook can develop — turning a box of ripe summer strawberries or a bag of fresh peaches into shelf-stable jars that last up to a year.
Here are the 5 core methods for preserving jam at home:
- Water bath canning — shelf-stable for up to 1 year at room temperature
- Freezer jam — keeps 3–6 months, great for fresh flavor
- Refrigerator storage — simplest method, use within 1–2 months
- Low-sugar with special pectin — healthier option, still safe when done correctly
- No-pectin long-boil — relies on natural fruit pectin and sugar concentration
Each method has its own trade-offs for flavor, safety, and storage life. The right choice depends on how much fruit you have, how long you want it to last, and how much effort you want to put in.
Making jam at home solves a real problem: seasonal produce doesn’t last. Whether you’ve got a bumper crop from the farmers market or just want to capture that peak-summer strawberry flavor in January, home preserving lets you do exactly that.
The good news? You don’t need much to get started. A heavy pot, some jars, fresh fruit, sugar, and a little know-how go a long way.
But small mistakes — like skipping the set test, misjudging acidity, or ignoring altitude adjustments — can mean runny jam, broken seals, or worse. This guide covers all of it.

Understanding the Basics of Preserving Jam Recipes
Before we dive into the pots and pans, we need to speak the language of the pantry. Many people use the terms “jam” and “jelly” interchangeably, but in preserving jam recipes, the details matter for both texture and safety.

- Jam: Made from crushed or chopped whole fruit. It’s thick, spreadable, and full of fruit bits.
- Jelly: Made only from the fruit juice. It’s clear, firm, and holds its shape when cut.
- Preserves: These contain large chunks of fruit or even whole small fruits (like cherries) suspended in a slightly looser syrup.
- Marmalade: A specific type of preserve made from citrus fruits, including the juice, pulp, and the bitter-sweet rinds.
The “magic” that makes these spreads set is a combination of fruit ripeness, pectin, sugar, and acid. We often recommend using a mix of about 75% fully ripe fruit (for flavor) and 25% slightly under-ripe fruit. Why? Because under-ripe fruit is naturally higher in pectin, which helps your jam set without feeling like a rubber ball. For more on the foundational concepts, you can explore our More info about preserving basics.
Essential Ingredients for Preserving Jam Recipes
Every successful jar relies on a “Holy Trinity” of ingredients. If one is out of balance, your jam might end up as an ice cream topping (too runny) or a brick (too hard).
- Pectin: This is a natural starch found in the cell walls of fruits. Some fruits, like apples and quinces, are pectin powerhouses. Others, like strawberries and blueberries, need a little help. We love using a shredded Granny Smith apple as a secret natural pectin source—it thickens the jam without dulling the fruit flavor.
- Sugar: It’s not just for sweetness! Sugar acts as a preservative by binding with water, making it unavailable for bacteria to grow. It also works with pectin to create that jellied structure.
- Acid (Bottled Lemon Juice): Acid is the “activator.” It helps the pectin chains mesh together. We always use bottled lemon juice rather than fresh because the acidity level in bottled juice is standardized, ensuring your jam is safe for long-term storage.
- Calcium Water: If you are using specific low-sugar pectins (like Pomona’s), you’ll need calcium water to trigger the gelling process since you aren’t using high amounts of sugar.
Selecting and Preparing Your Fruit
The quality of your finished product starts in the orchard (or the produce aisle). In April 2026, we are seeing a fantastic early bloom, so it’s the perfect time to prep.
- Stone Fruits: Peaches, plums, and apricots are naturally rich in pectin. For peaches, we often leave the skins on. They melt into the jam, adding a beautiful rose tint and deep flavor.
- Berries: When cleaning berries, don’t soak them! They act like sponges and will water down your jam. Rinse them quickly and pat dry.
- Hulling and Crushing: For strawberries, remove the green hulls and cut them into 1/2-inch pieces. Use a potato masher to crush them—don’t use a blender, or you’ll lose that classic jam texture.
- Maceration: This is the process of tossing your fruit with sugar and letting it sit (from 15 minutes to overnight). It draws out the juices and helps the fruit keep its shape during cooking.
Essential Equipment and Safety for Home Canning
You don’t need a professional kitchen, but a few specific tools make preserving jam recipes much safer and easier.
- Water Bath Canner: A large, deep pot with a rack at the bottom. The jars must be covered by at least 1-2 inches of water.
- Jars and Lids: Use glass canning jars (like Ball Mason jars). Lids (the flat part) can only be used once for canning, but the rings can be reused as long as they aren’t rusted.
- Jar Lifter: This is non-negotiable for safety. It allows you to grab hot jars from boiling water without burning yourself or dropping the jar.
- Headspace Tool and Bubble Remover: A simple plastic wand helps you measure the “headspace” (the gap between the jam and the lid) and pop any trapped air bubbles that could harbor bacteria.
Preventing Spoilage and Botulism
Safety is our top priority at Recipes Guard. Because jam is high in acid and sugar, it is generally very safe, but we must follow the rules. To prevent mold and spoilage, we recommend following the guidelines set by the National Center for Home Food Preservation:
- Maintain pH Levels: The jam must be acidic (pH below 4.6). This is why we don’t skip the lemon juice.
- Sterilization: For any jam processed for less than 10 minutes, jars should be sterilized by boiling them for 10 minutes before filling.
- The Seal: After processing, let the jars sit undisturbed for 12 to 24 hours. You should hear a “ping” as they cool—that’s the sound of success! If a lid flexes up and down, it didn’t seal and must go in the fridge. For more on safety, check out Safety First: A Guide to Preserving Fermented Foods.
Altitude Adjustments for Preserving Jam Recipes
Water boils at a lower temperature at higher altitudes. If you live in the mountains, you must boil your jars longer to kill off potential spoilers.
| Altitude (Feet) | Extra Processing Time | Jam Set Temperature |
|---|---|---|
| 0 – 1,000 | 0 minutes | 220°F |
| 1,001 – 3,000 | +5 minutes | 218°F |
| 3,001 – 6,000 | +10 minutes | 214°F |
| 6,001 – 8,000 | +15 minutes | 210°F |
5 Proven Methods for Successful Jam Preservation
There is more than one way to fill a pantry. Depending on your time and equipment, one of these five methods will fit your needs.
Method 1: Traditional Water Bath Canning
This is the gold standard for preserving jam recipes. It creates a shelf-stable product that can sit in your pantry for up to a year.
- The Process: Fill hot jars with hot jam, leave 1/4 inch headspace, wipe rims, apply lids “fingertip tight,” and boil in the canner for at least 5-10 minutes (adjusted for altitude).
- Best For: Long-term storage and gifting.
Method 2: Freezer Jam for Fresh Flavor
Freezer jam is perfect if you want that “just-picked” fruit taste. Since the fruit isn’t cooked (or is only cooked briefly), the color and flavor stay vibrant.
- The Process: Mix fruit with sugar and a specific “freezer pectin.” Let it sit, jar it, and pop it in the freezer.
- Important: Leave at least 1/2 inch of headspace because jam expands as it freezes!
- Shelf Life: 6 months in the freezer. Once thawed, use it within 3 weeks.
Method 3: Low-Sugar and Alternative Sweeteners
Traditional jam is roughly 50% sugar. If you want to cut back, you can’t just leave the sugar out of a regular recipe—it won’t set.
- The Solution: Use “Low or No-Sugar Needed” pectin. These pectins rely on calcium to gel rather than sugar.
- Sweeteners: You can use honey, fruit juice concentrates, or even Splenda. If using Splenda, add it at the very end of the cooking process to maintain the best flavor. Splenda doesn’t preserve color or texture like sugar does, so these are best stored in the fridge or freezer.
Method 4: Refrigerator Jam
This is the “I have two pints of berries and 20 minutes” method.
- The Process: Cook your fruit, sugar, and acid until thickened. Pour into a clean jar and put it straight into the fridge once cool.
- Shelf Life: About 1 to 2 months. It’s perfect for Quick and Easy Pickled Vegetables for Every Meal pairings on a charcuterie board.
Method 5: No-Pectin Long-Boil
This is how our great-grandmothers did it. It requires patience and a watchful eye.
- The Process: You cook fruit and sugar for a long time (sometimes 45 minutes to an hour) until enough water evaporates that the natural pectins concentrate and set.
- Pros: Intense, deep fruit flavor.
- Cons: You get a lower yield because so much liquid evaporates, and the fruit can lose its bright color.
Step-by-Step Guide to Classic Strawberry Jam
Let’s put theory into practice with our favorite preserving jam recipes staple: Strawberry Jam. This recipe uses the “secret apple” method to guarantee a perfect set without overcooking the berries.
Ingredients:
- 3 lbs fresh strawberries (hilled and cut)
- 3 cups granulated sugar
- 1 small Granny Smith apple (peeled and finely shredded)
- 2 tbsp bottled lemon juice
Instructions:
- Prep: Place two small plates in the freezer (you’ll need these later).
- Mashing: In a large Dutch oven, crush the strawberries with a potato masher until you have a chunky puree.
- Combine: Stir in the sugar, shredded apple, and lemon juice.
- Boil: Bring the mixture to a vigorous boil over medium-high heat. Stir constantly to prevent scorching.
- Cook: Continue boiling until the mixture reaches 220°F (usually 20-25 minutes). You’ll notice the bubbles change from small and foamy to larger, “lazy” bubbles.
- Skim: If there is excess foam on top, skim it off with a spoon or stir in a tiny half-teaspoon of butter to dissolve it.
Testing the Gel and Consistency
Don’t just trust the clock; trust the test!
- The Chilled Plate Test: Take one of your plates out of the freezer. Drop a teaspoon of hot jam onto it and put it back in the freezer for 2 minutes. Take it out and push the edge of the jam with your finger. If it wrinkles, it’s done!
- The Sheet Test: Dip a cold metal spoon into the boiling jam. Lift it up and let the jam drip off. If the drops join together and “sheet” off the spoon in one wide ribbon, the gel has formed.
- Temperature: At sea level, 220°F is the magic number. If you’re at high altitude, remember to subtract 2°F for every 1,000 feet of elevation.
Creative Flavor Variations and Add-ins
Once you master the base, you can get creative. We love adding a little “extra” to our preserving jam recipes:
- Vanilla Bean: Scrape the seeds of one vanilla bean into the pot before boiling.
- Balsamic Strawberry: Add 1 tablespoon of high-quality balsamic vinegar at the end for a sophisticated, savory twist.
- Herbs: A few sprigs of fresh thyme or basil steeped in the jam (and removed before jarring) adds a lovely garden freshness.
- Boozy Jam: A splash of bourbon in peach jam or red wine in fig preserves can elevate the flavor profile significantly.
Troubleshooting and Storage Guidelines
Even experts have the occasional “jam-mergency.” If things don’t go as planned, don’t panic!
Common Jam Making Mistakes
- Runny Jam: Usually caused by not boiling long enough or incorrect pectin-to-sugar ratios. The Fix: You can re-cook it! Add a little more pectin and lemon juice and bring it back to a boil. Or, just call it “pancake syrup” and enjoy.
- Double Batching: This is the most common mistake. If you double a recipe, the heat doesn’t distribute evenly, and the jam often fails to set. Always make single batches.
- Scorched Fruit: If you don’t stir constantly, the sugar at the bottom of the pot will burn. If this happens, do not scrape the bottom! Pour the “clean” jam into a new pot and hope the burnt flavor hasn’t permeated the whole batch.
- Weak Gel in Large Jars: We recommend using half-pint (8 oz) jars. Larger jars take too long to cool, which can break down the pectin and result in a weaker set.
Shelf Life and Proper Storage
- Unopened Canned Jars: Store in a cool, dry, dark place (like a pantry or closet). They are best used within 1 year. Over time, the color may fade and the texture may soften, but as long as the seal is intact, it is safe.
- Opened Jars: Always refrigerate after opening. Use within 2 months.
- Labeling: This is the most important step! Always include the fruit type and the date (e.g., “Strawberry-Balsamic, April 2026”). You think you’ll remember what’s in the jar, but six months from now, all red jams look the same!
- Saltiness: If you find your jam tastes a bit off or you’ve been experimenting with savory preserves, you might find our guide on How to Save Your Salty Snacks helpful for balancing flavors.
Frequently Asked Questions about Preserving Jam
Why didn’t my jam set and how can I fix it?
Jam can take up to 24-48 hours to fully set as it cools. If it’s still runny after two days, it likely didn’t reach the proper temperature or lacked enough acid/pectin. You can re-cook it by adding 1/4 cup sugar, 1 tablespoon lemon juice, and 4 teaspoons of powdered pectin per 4 cups of jam. Bring it to a hard boil for 1-2 minutes and re-can.
Can I reduce the sugar in a traditional jam recipe?
In traditional preserving jam recipes, sugar is a structural component. Reducing it can result in a runny jam that spoils quickly. If you want less sugar, you must use a “low-sugar” specific pectin or follow a recipe designed for alternative sweeteners like Splenda.
How does altitude affect my canning time and temperature?
Because water boils at a lower temperature at high altitudes, you must increase your processing time in the water bath to ensure safety. For every 1,000 feet above sea level, add 1 minute to the processing time. Also, your “set point” temperature will be lower (see our table in the Safety section).
Conclusion
At Recipes Guard, we believe that the art of preserving jam recipes is about more than just filling a pantry—it’s about capturing a moment in time. There is nothing quite like opening a jar of bright, sun-ripened raspberry jam on a cold morning in the middle of winter.
Whether you choose the long-term reliability of water bath canning or the quick satisfaction of a freezer jam, you are participating in a sustainable tradition that reduces food waste and celebrates the harvest. Start small, follow the safety guidelines, and don’t be afraid to experiment with flavors.
Ready to dive deeper into food preservation? Start your journey with our Preserving Basics guide and discover how easy it is to build a delicious, homemade pantry. Happy jamming!