How to Ferment Pickles in 5 Simple Steps
What Are Fermented Pickles (and Why Should You Make Them)?
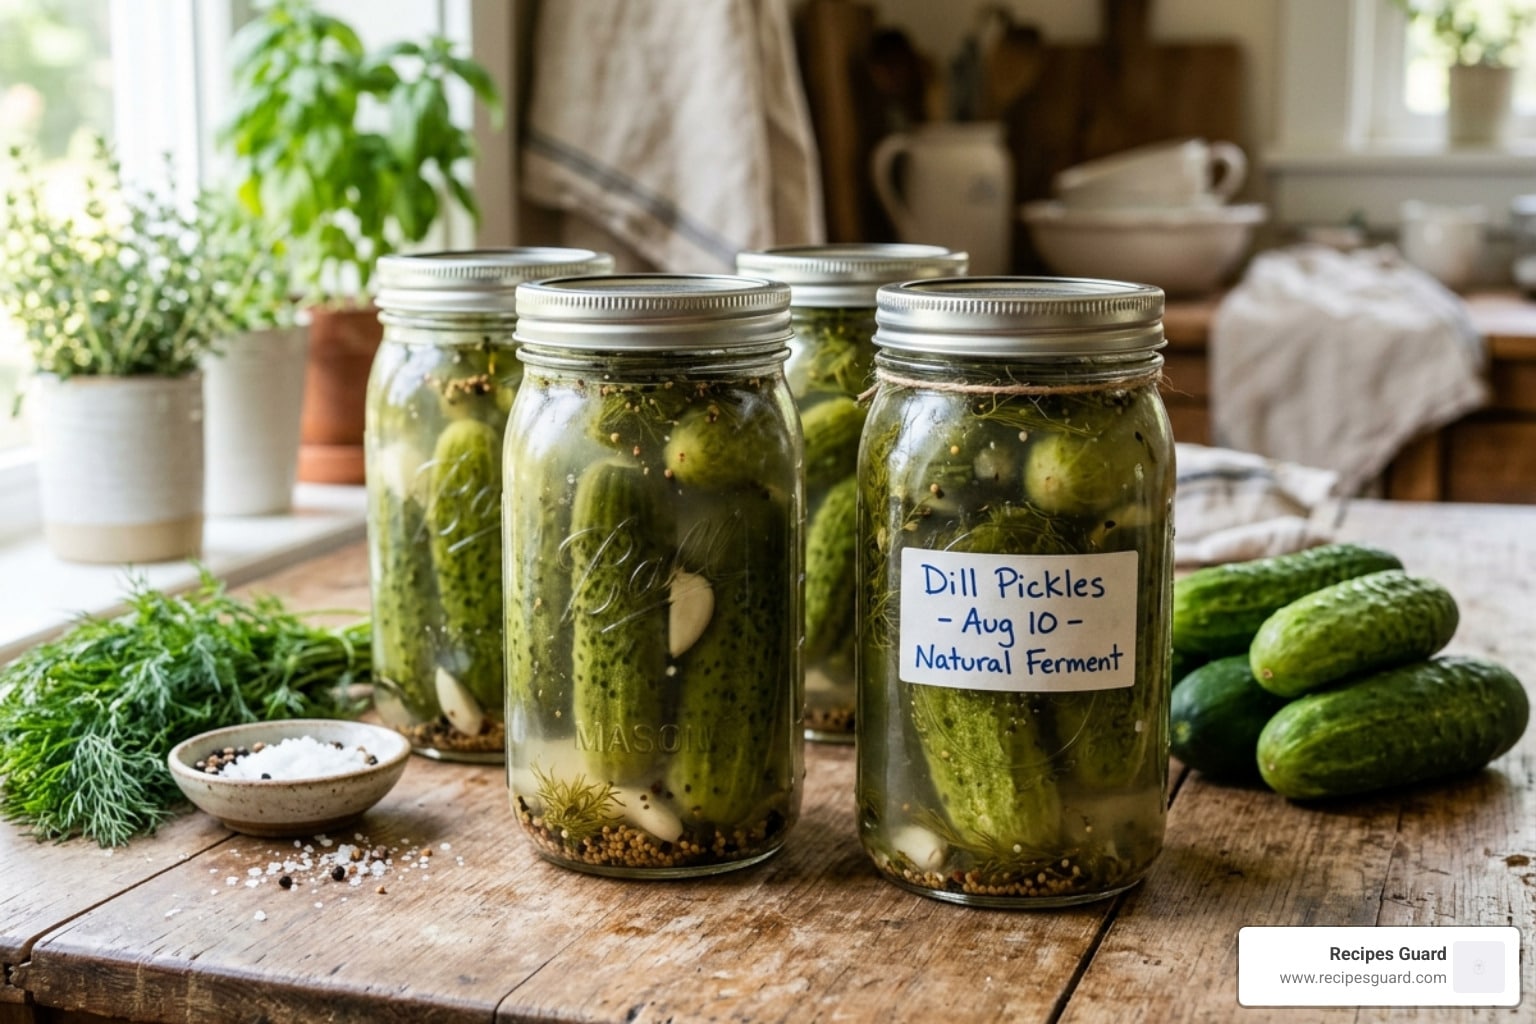
Fermented pickles are cucumbers preserved in a salt-water brine — no vinegar needed. Beneficial bacteria do all the work, creating a tangy, crunchy pickle that’s packed with natural probiotics.
Here’s the quick version of how to ferment pickles at home:
- Wash pickling cucumbers and trim the blossom end
- Mix a 3% salt brine (7g salt per 1 cup of water)
- Pack cucumbers into a clean glass jar with garlic, dill, and spices
- Submerge fully in brine and cover loosely
- Ferment at 60–70°F for 3–5 days (half-sour) or up to 21 days (full-sour)
That’s really it. The whole hands-on process takes about 15–20 minutes.
What makes fermented pickles different from the ones on most grocery store shelves? Almost all store-bought pickles are made with vinegar and heat-processed, which kills any beneficial bacteria. True fermented pickles use only salt and water, letting naturally occurring Lactobacillus bacteria create lactic acid — the same process humans have used to preserve food for thousands of years, long before refrigeration or canning existed.
The result is a pickle that’s not just delicious, but also a living food full of gut-friendly probiotics.
Whether you’re trying fermentation for the first time or troubleshooting a batch that went soft, this guide walks you through everything you need to know — step by step.

Understanding the Science of Fermented Pickles
To master fermented pickles, we first need to understand the invisible “magic” happening inside the jar. This process is called lacto-fermentation. It relies on Lactobacillus bacteria, which are naturally present on the skins of all fruits and vegetables.
When we place cucumbers in a salt brine, the salt acts as a selective shield. It inhibits the growth of harmful spoilage bacteria while allowing the salt-tolerant Lactobacillus to thrive. These “good” bacteria consume the natural sugars in the cucumber and convert them into lactic acid. This acid acts as a natural preservative and gives the pickles their signature tang.
It is vital to prioritize safety during this process. For a deeper dive into the mechanics of food safety, check out our Safety First: A Guide to Preserving Fermented Foods.
Fermented vs. Vinegar-Based Pickles
Most people are surprised to learn that the pickles they buy at the supermarket aren’t actually fermented. Here is a breakdown of the differences:
| Feature | Fermented Pickles | Vinegar-Based Pickles |
|---|---|---|
| Preservative | Lactic Acid (produced naturally) | Acetic Acid (added vinegar) |
| Probiotics | High (Live, active cultures) | None (killed by heat/vinegar) |
| Flavor Profile | Complex, tangy, “fizzy” | Sharp, acidic, often sweet |
| Preparation | Raw, aged at room temp | Usually boiled/canned |
| Shelf Life | Months in the fridge | Years on a shelf (if canned) |
Scientific research has consistently shown that the probiotics found in fermented pickles are a boon for digestive health. These live cultures help balance the gut microbiome, which can improve everything from nutrient absorption to immune system function. In fact, some fermentation enthusiasts treat the fizzy brine itself as a “healing tonic,” drinking small shots of it for an electrolyte and probiotic boost.
Choosing the Best Salt for Fermented Pickles
Salt is the most important ingredient after the cucumbers themselves. We don’t just use it for flavor; it is the engine of the fermentation process. However, not all salts are created equal.
For the best results, we recommend using high-quality, non-iodized salt. This includes:
- Sea Salt: Harvested from evaporated seawater, it contains trace minerals.
- Himalayan Pink Salt: Rich in minerals and free from modern pollutants.
- Kosher Salt: Easy to dissolve and generally free of additives.
Avoid table salt. Most table salts contain iodine and anti-caking agents. Iodine can inhibit the growth of beneficial bacteria, and anti-caking agents can turn your brine cloudy and unappetizing.
The Golden Ratio: The most common and safest brine concentration is 3%. In fermentation, precision matters.
- 3% Brine: Approximately 7 grams of salt per 1 cup of water (about 1 1/4 teaspoons of fine sea salt).
- 4.5% Brine: For longer ferments (full-sours), use 10.8 grams of salt per cup (about 2 teaspoons).
Using a digital scale to weigh your salt in grams is the most accurate way to ensure success.
The Role of Tannins in Pickle Crunch
The biggest fear of the home fermenter is the “mushy pickle.” Cucumbers contain enzymes that can break down pectin (the stuff that makes them firm) during the fermentation process. To combat this, we use tannins.
Tannins are natural compounds that inhibit these softening enzymes. By adding a source of tannins to your jar, you act as a “bodyguard” for the cucumber’s crunch. Common sources include:
- Grape leaves: The traditional choice (one or two per jar).
- Bay leaves: Easy to find and adds a subtle flavor.
- Black tea: A single tea bag or a teaspoon of loose leaf tea works wonders.
- Horseradish leaves: These add both crunch and a spicy kick.
Essential Equipment and Ingredients
Before we start, let’s gather our supplies. You don’t need a professional laboratory, but having the right tools makes the process foolproof.
The Ingredients:
- Pickling Cucumbers: Look for the Kirby variety. They are shorter, have bumpier skin, and possess a denser flesh than “slicing” cucumbers. Slicing cucumbers are too watery and will almost always turn out mushy.
- Filtered Water: Chlorine in tap water can kill the bacteria we are trying to grow. If you use tap water, boil it first and let it cool to room temperature, or let it sit out for 24 hours to allow the chlorine to dissipate.
- Fresh Dill: Use the flowering heads if possible, but fronds and seeds also work.
- Garlic: Fresh cloves, smashed to release their oils.
- Spices: Peppercorns, mustard seeds, coriander seeds, and red pepper flakes for heat.
The Equipment:
- Glass Jars: Wide-mouth Mason jars (quart or half-gallon) are perfect.
- Fermentation Weights: These are glass or ceramic discs that hold the cucumbers under the brine. If you don’t have them, a small zip-lock bag filled with extra brine can work.
- Airlock Lids: These allow carbon dioxide to escape without letting oxygen (and mold) in. If you don’t have these, you can use a standard lid and “burp” it daily.
- Digital Scale: For weighing salt and water accurately.
For more information on setting up your kitchen, visit our Category: Preserving Basics.

How to Ferment Pickles in 5 Simple Steps
Now, let’s get our hands dirty (but make sure they are clean first!). Making fermented pickles only takes about 20 minutes of active work.
Step 1: Prep the Cucumbers
Wash your cucumbers thoroughly in cold water. The most critical part of this step is removing the blossom end. The blossom end (the side opposite the stem) contains the highest concentration of softening enzymes. Slice off about 1/16th of an inch. For maximum crunch, soak your trimmed cucumbers in an ice-water bath for 15–30 minutes before packing.
Step 2: Prepare the Brine
Calculate your salt needs. For a standard 3% brine, dissolve 7g of salt into each cup of filtered water. Stir until the water is clear. It’s often easier to dissolve the salt in a small amount of warm water first, then top it off with cold water to bring it to room temperature. Never pour hot brine over your cucumbers, or you’ll kill the beneficial bacteria!
Step 3: Pack the Jar
Place your spices, garlic, and tannin source at the bottom of the jar. If you love garlic, you might also enjoy our Don’t Be Afraid of the Funk with This Easy Fermented Garlic Recipe. Pack the cucumbers in tightly. You want them wedged in so they don’t float, but don’t bruise the skins.
Step 4: Submerge
Pour the brine over the cucumbers. Leave about 1 to 2 inches of “headspace” at the top of the jar. Place your fermentation weight on top to ensure every bit of vegetable is below the liquid line. If it’s under the brine, it’s fine; if it’s in the air, it’ll despair (and grow mold).
Step 5: Ferment
Place the lid on loosely (or use an airlock). Store the jar in a cool, dark place. The ideal temperature range is 60–70°F. If it’s too warm, the pickles will ferment too fast and get soft. If it’s too cold, the process will stall.
Mastering the Brine for Fermented Pickles
The brine is the lifeblood of your fermented pickles. As the bacteria get to work, you will notice a few changes. Within 24 to 48 hours, you should see tiny bubbles rising to the surface. This is carbon dioxide, a byproduct of fermentation.
The brine will also turn cloudy. Do not panic! A cloudy brine is a sign of a healthy, active Lactobacillus population. If you want to expand your pickling horizons beyond cucumbers, check out our guide on Quick and Easy Pickled Vegetables for Every Meal.
Monitoring Your Fermentation Progress
Fermentation is not a “set it and forget it” process; it’s a “set it and taste it” process.
- Half-Sour Stage (3–5 days): These pickles are bright green, extra crunchy, and have a mild tang. They still taste a bit like a fresh cucumber but with a salty, garlicky kick.
- Full-Sour Stage (14–21 days): The pickles will turn an olive-green color all the way through. They are deeply tangy, salty, and complex.
The time it takes depends on the temperature of your kitchen and the salt concentration. We recommend tasting a pickle on day 3, then every day after until they reach your “sweet spot.” Once they taste perfect to you, move the jar to the refrigerator. The cold temperature will significantly slow down the fermentation process.
If you enjoy the process of monitoring ferments, you might be ready to try Mastering the Art of Lacto-Fermented Hot Sauce.
Troubleshooting and Storage Tips
Even experts run into issues occasionally. Here is how to handle the most common “pickle problems.”
1. Surface Scum (Kahm Yeast): If you see a thin, white, wavy film on top of the brine, it’s likely Kahm yeast. It’s not harmful, but it can affect the flavor. Simply skim it off with a clean spoon. If the growth is fuzzy, green, or black, that is mold—toss the batch.
2. Soft or Mushy Pickles: This is usually caused by:
- Failing to remove the blossom end.
- Fermenting at temperatures above 80°F.
- Using too little salt.
- Using old, non-pickling cucumbers.
3. Foul Smells: A healthy ferment should smell sour, garlicky, and vinegary (even though there’s no vinegar). If it smells like rotting garbage, sulfur, or “off” in a way that makes your nose wrinkle, trust your gut and throw it out.
Storage: Fermented pickles can last 6 months or more in the refrigerator. Over time, they will continue to get more sour and slightly softer, but they remain safe to eat as long as they stay submerged in their brine. For more information on food safety standards, you can consult the National Center for Home Food Preservation.
Frequently Asked Questions about Fermentation
How long does it take to reach full-sour results?
To achieve a traditional “New York Deli” full-sour pickle, you typically need to ferment for 14 to 21 days. We recommend using a slightly stronger brine (around 4.5%) for these longer ferments to ensure the cucumbers stay firm over the three-week period.
What should I do if I see white film on the brine?
As mentioned, a flat white film is usually Kahm yeast. Skim it off and proceed. However, if you see a “milky” white sediment at the bottom of the jar, leave it alone! That is simply spent Lactobacillus bacteria settling out of the brine, and it’s a sign of a successful ferment. You can even use a spoonful of this “lees” to jump-start your next batch of pickles.
Can I reuse the leftover pickle brine for other recipes?
Absolutely! Do not pour that “liquid gold” down the drain. Leftover brine is full of probiotics and flavor. You can use it:
- As a marinade for chicken or pork.
- As a “backslop” to start a new batch of fermented vegetables.
- In place of vinegar in salad dressings.
- As a “Pickleback” shot with whiskey.
- In a “Gin and Brine” martini.
Conclusion
Making your own fermented pickles at home is a rewarding way to connect with traditional food preservation methods while boosting your gut health. It turns a simple garden cucumber into a probiotic powerhouse with just a little salt, water, and time.
At Recipes Guard, we believe that fermentation shouldn’t be intimidating. It’s a simple, natural process that has fed humanity for millennia. Once you hear that first “crunch” of a pickle you made yourself, you’ll never want to go back to the store-bought version again.
Ready to try more? Explore our full Category: Fermented Recipes for more inspiration, from sauerkraut to fermented salsas. Happy fermenting!